The physics of the process: why the laser turns wood into charcoal
Laser cutting is a process of thermal action in which a highly concentrated beam of light instantly heats the material to vaporisation temperature. In the case of plywood we are dealing with a complex structure: wood fibres joined by an adhesive compound. When the laser beam passes through the material, it does not merely cut it but triggers a micro-explosion and sublimation of the wood. The problem is that the products of this thermal breakdown — gases, resins and soot — do not always manage to leave the cutting zone without a trace.
The main cause of a black edge lies in an excessive build-up of heat and the deposition of combustion products on the cut faces. If the heat is not removed quickly enough, the wood around the point of contact with the beam begins to char, turning into charcoal. This not only spoils the appearance of the piece but also makes it dirty to handle: the soot easily transfers to your hands and to adjacent surfaces. Understanding that cutting is a controlled fire in miniature helps you grasp the importance of controlling every stage of the process.
The chemical composition of the glue in plywood plays no small part. Urea-formaldehyde or phenol-formaldehyde resins behave differently from cellulose when heated. They can melt, boil and create a sticky dark film that bites permanently into the structure of the veneer. This is precisely why different grades of plywood can give completely different edge-cleanliness results at identical laser settings.
The temperature at the focal point can reach several thousand degrees. If the speed of the laser head is too low, energy accumulates in one place for too long, which inevitably leads to overheated edges. Thin plywood suffers more here, because its heat capacity is low. It is important to find that “sweet spot” where the power is enough for a through cut, but not enough to trigger uncontrolled burning of the neighbouring fibres.
The moisture content of the material is another factor to consider. Excess moisture in plywood turns to steam under the laser, and this steam can hinder the escape of combustion products, creating a “steam cushion”. As a result, soot settles inside the cut, forming a deep black layer that is extremely difficult to remove even by sanding. Dry, properly conditioned plywood always cuts cleaner and more predictably.
Finally, the geometry of the cut itself affects the result. When cutting small details or sharp corners, the laser slows down at turns because of the inertia of the mechanics. At these points there is a brief dwell, which becomes the cause of scorch marks. Modern machine control systems try to compensate for this effect by reducing power in proportion to speed, but not all controllers do this equally effectively.
The role of air-assist: how air saves the aesthetics of the piece
Air-assist in the cutting zone is perhaps the single most critical factor affecting the colour of the edge. Many beginners mistakenly believe that air is needed only to keep the lens from clouding with smoke. In reality, the air jet performs three vital functions: mechanically removing combustion products, cooling the cutting zone and preventing the ignition of wood vapours. Without a powerful and correctly directed airflow, a clean cut is virtually impossible.
When the compressor delivers air through the nozzle of the laser head, it pushes the incandescent gases and soot particles downward, through the kerf. If the air-assist is weak, these particles remain in the cutting zone, settling on the walls and creating that very black char. Moreover, with insufficient pressure a flare can form in the cutting zone — an open flame that will instantly turn a neat line into a charred trench. A strong airflow literally “blows out” the flame, shifting the process from a mode of burning to a mode of vaporisation.
There is a difference between the standard “aquarium” compressor that comes with most machines and a powerful pneumatic line. Standard compressors often deliver a pressure of around 0.02–0.05 MPa, which is clearly insufficient for quality work with wood. To achieve the ideal result, professionals use compressors with a pressure of 0.2 to 0.8 MPa, fitted with regulators and drying filters.
- Weak air-assist: Leads to yellow halos on the surface and a coal-black edge.
- Medium air-assist: Produces a brown edge that does not soil the hands.
- Strong air-assist: Delivers a light-brown or even honey-coloured cut.
- Air drying: Crucial, because condensate from the compressor can leave stains on the wood and damage the lens.
However, too strong an air-assist can also have side effects. On very thin parts or with certain species of wood, a powerful airflow can “blow” sparks under the material, causing scorch marks on the reverse side. It is also important to watch the alignment of the air jet with the laser beam. If the air blows slightly to one side, this creates asymmetric char: on one side the cut will be clean, on the other — dirty.
The design of the nozzle also affects the result. A narrow nozzle creates a more focused, faster air jet, which is ideal for a clean cut. Wide nozzles are better suited to engraving, where there is no need to pierce through the material. Craftsmen often modify their machines, fitting custom nozzles to achieve maximum aerodynamics in the zone where the beam contacts the plywood.
The influence of plywood grade on edge quality
Not all plywood is equally suited to a laser machine. The choice of material is 50% of the success. The market offers plywood of various grades, but for laser cutting it is traditionally recommended to use FK-grade plywood (urea plywood). It is bonded with compounds based on urea resins, which are less toxic and break down more easily under the laser, without forming the kind of thick, sticky char that FSF-grade plywood does.
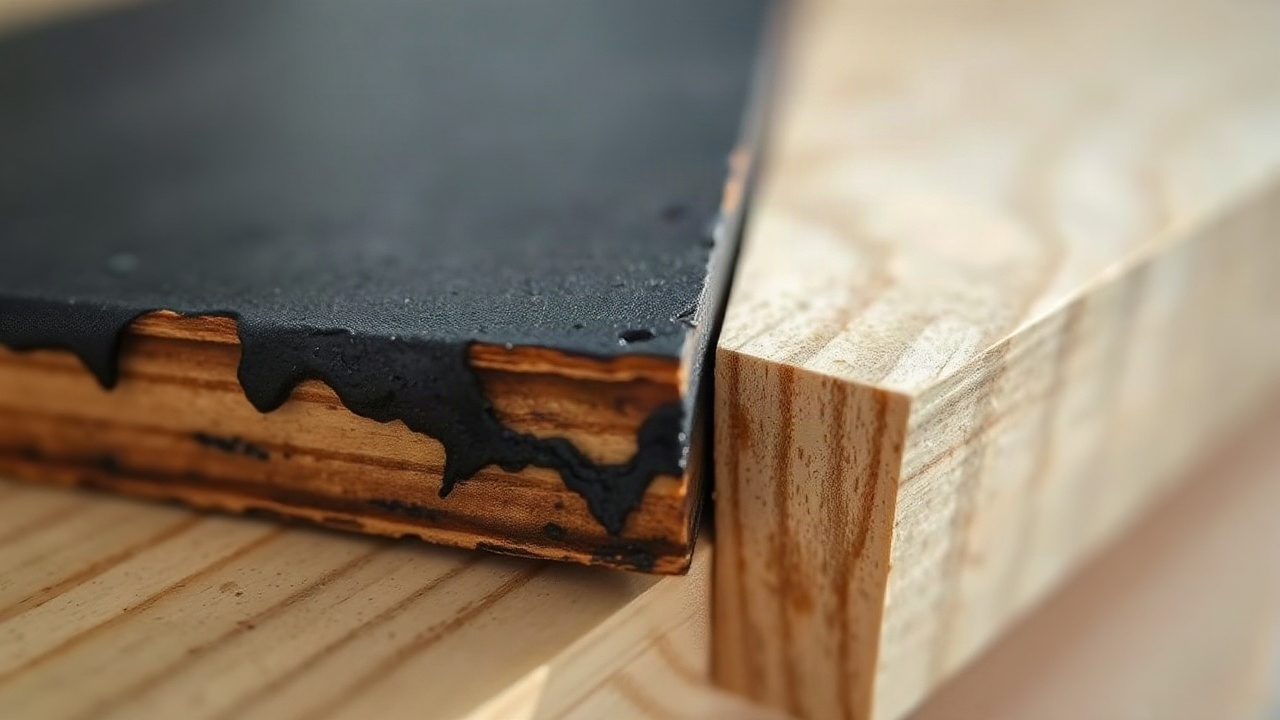
FSF plywood (of increased moisture resistance) contains phenol-formaldehyde resins. They make the material strong and water-resistant, but during laser cutting these resins turn into a thick black tar that bakes onto the cut faces. Washing off or sanding away such char is practically impossible. That is why, for souvenir products, toys and interior decor, using FSF is a bad idea. The edge will always be coal-black and will have a sharp chemical smell.
| Characteristic | FK plywood (Birch) | FSF plywood (Softwood/Birch) |
|---|---|---|
| Type of glue | Urea | Phenolic |
| Colour of the cut | Light brown | Dark black, tarry |
| Smell after cutting | Burnt wood | Sharp chemical |
| Difficulty of sanding | Removes easily | Very hard, clogs the paper |
| Application | Indoors, toys | Outdoor work, construction |
Besides the grade of glue, the grade of veneer is critically important. For the laser, grade 1/2 or 2/2 is best suited. Why does this matter for the colour of the edge? Lower grades (3 and 4) are allowed a large number of knots, internal voids and repair patches. Knots have a much higher density and contain more resin. The laser hits a knot, slows its burn-through speed, the material overheats, and a huge black patch forms in that spot.
Internal voids and glue “pockets” are also enemies of a clean cut. When the beam enters a cavity inside the plywood, an uncontrolled expansion of gases and a flash occur there. This leads to characteristic “blow-outs” — black spots extending beyond the cut line. Quality plywood for the laser should be dense and uniform throughout the thickness of the sheet.
The thickness of the material also dictates its own rules. The thicker the plywood, the longer the beam acts on the material and the harder it is for the air to blow the combustion products out of a deep, narrow channel. Cutting plywood 10 mm thick will always give a darker edge than cutting a 3 mm sheet. For thick materials it is especially important to use long-focus lenses, which create a more even, cylindrical channel, easing the escape of smoke.
The optical system: focus and the cleanliness of the lenses
Edge quality depends directly on how accurately the laser beam is focused. If the focal distance is set incorrectly, instead of a fine, sharp “needle” the material is cut by a defocused spot of large diameter. A large contact area means excess heat is transferred to the surrounding tissue of the wood, which inevitably leads to charring. A correctly focused beam passes through the wood like a knife through butter, leaving a minimal trace of thermal action.
The condition of the optics — mirrors and lenses — plays a decisive role. Even the thinnest layer of dust or soot on the lens absorbs part of the laser’s energy. This leads to two negative consequences: first, the effective output power drops and you have to reduce speed (which increases char); second, the lens starts to heat up and may deform or crack. Dirty optics scatter the beam, turning it from a sharp circle into a shapeless spot, which instantly affects the cleanliness of the edge.
The choice of lens depends on the task. For thin plywood (up to 4–5 mm), short-focus lenses (1.5 or 2 inches) are ideal. They create a very small spot, ensuring jeweller-like precision and the cleanest possible edge. However, they have a shallow depth of focus: the beam diverges quickly after the focal point, so on thick materials the edge will come out bevelled and heavily charred in the lower part. For materials 6–10 mm it is better to use 2.5- or 3-inch lenses.
Checklist for maintaining the optics:
- A daily check of the cleanliness of the output lens before the start of the shift.
- Cleaning the mirrors at least once a week (more often with intensive work).
- Using special lint-free wipes and isopropyl alcohol (or dedicated cleaning products).
- Checking the alignment: the beam should hit exactly the centre of each mirror and the centre of the lens.
- Monitoring the condition of the lens for micro-cracks and burn-through of the coating.
The alignment of the machine is often underestimated. If the beam enters the lens at an angle, it exits the nozzle non-vertically. This creates a situation where one edge of the part comes out relatively clean, while the opposite one is heavily charred, because the beam “clips” the inner wall of the nozzle or passes through the material along a longer path. A perfectly perpendicular beam is the key to a symmetrical, neat cut.
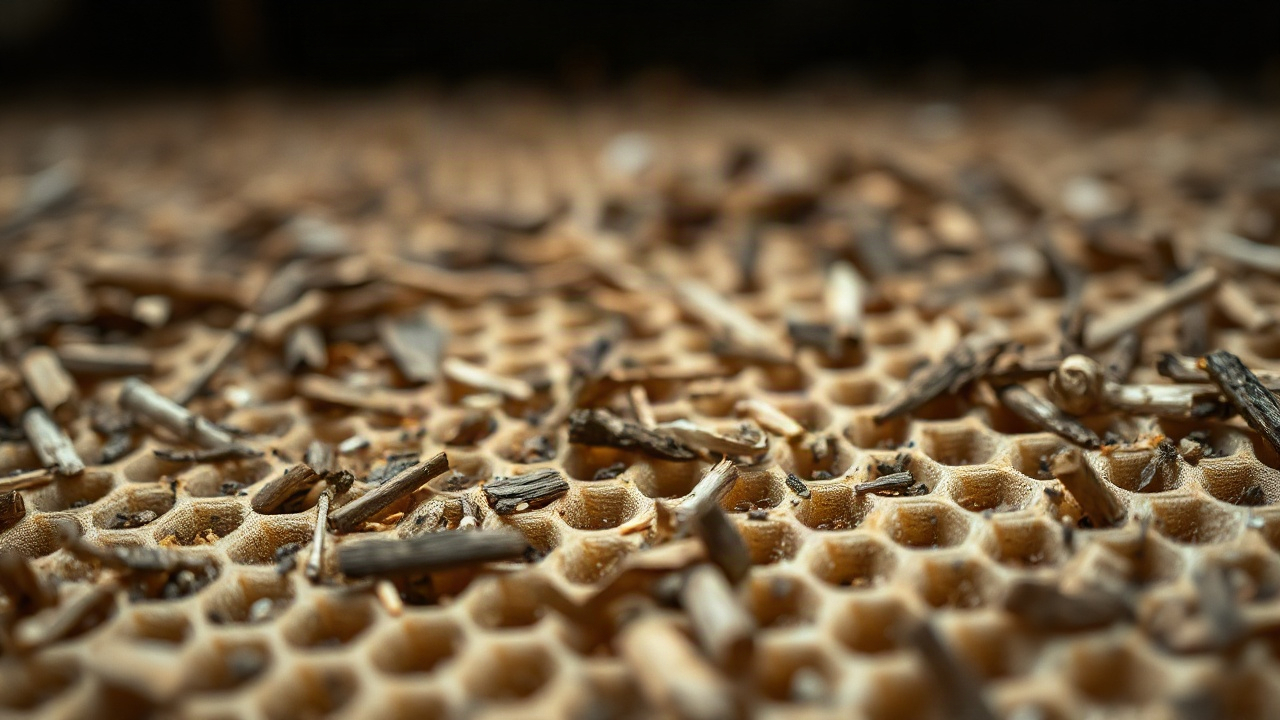
It is also worth paying attention to the cleanliness of the work table. If you use a honeycomb table, its cells become clogged over time with resin and small offcuts. When the laser passes over such a contaminated area, a “flash-back” occurs — a burst from the dirt igniting in the honeycomb, which leaves ugly black marks on the reverse of the plywood. Regular cleaning of the table with alkaline compounds helps to avoid this effect.
Power and speed parameters: the search for balance

The main secret of a clean cut lies in the formula “maximum speed with the minimum sufficient power”. Many operators make the mistake of working at a reduced speed “for reliability”, to be sure of cutting through. But it is precisely the slow movement of the machine head that is the chief enemy of edge colour. The longer the laser dwells in one spot, the deeper the zone of thermal damage.
For each thickness and grade of plywood, tests must be run. Usually they take the form of a grid of small squares, cut at different speeds and powers. The goal is to find the maximum speed at which the material is still cut through but the edge stays light. Working at the limit of the tube’s capacity (for example, at 90–95% power) is not recommended, as it shortens its service life, but working at 60–80% power at high speed is the industry standard for quality products.
An interesting nuance lies in the pulse frequency (PPI, or frequency in kHz for some types of lasers). If the frequency is too low, the cut will consist of separate dots and the edge will be serrated. If it is too high, heat will build up excessively. Adjusting the frequency lets you finely regulate the amount of energy delivered per unit length of the cut, which helps achieve a honey shade even on temperamental species of wood.
Nor should the “corner power compensation” function be forgotten. Modern controllers can automatically reduce the laser power when the machine head slows down before a turn. If this function is not configured, there will always be black dots at the corners of parts — the result of excessive over-roasting at the moment the direction of travel changes. Fine-tuning this parameter makes it possible to keep the edge colour uniform around the entire perimeter of a complex part.
Protecting the surface: masking tape and coatings
Even if the edge comes out perfect, soot can settle on the front and back of the plywood in the form of ugly yellow “clouds” or tongues of flame. This happens because the smoke, escaping from the cut, spreads across the surface of the material. The simplest and most effective way to combat this is the use of masking tape. Before cutting, the surface of the plywood is covered with wide paper tape of low tack.
The tape takes on all the combustion products and soot. Once the process is complete, it is enough to peel off the paper layer, and beneath it will be an absolutely clean, untouched wood surface. This method is indispensable for making items that do not involve subsequent painting or deep sanding, for example wedding invitations, greeting cards or construction kits.
However, the tape method has its downsides. First, it increases the cost of the piece and the time spent on preparation. Second, on very small parts peeling off the tape can be extremely tedious. Third, if the tape is applied poorly and air bubbles remain beneath it, local scorch marks can appear in those places, because the air inside the bubble supports combustion.
- Advantages of tape: Full protection from soot, the ability to ship the order immediately, protection from small scratches during transport.
- Alternatives: Applying a thin layer of a special protective compound (for example, based on wax or liquid soap), which is later washed or scraped off.
- Special plywood: Some manufacturers offer plywood with a protective film already applied, intended specifically for laser processing.
To protect the reverse of the plywood, the material is often raised above the table. Using a “pin” (needle) table or special spacers minimises the area of contact between the plywood and the metal of the table. This prevents “back-strike” — where the laser beam reflects off the slats or honeycomb of the table and scorches the underside of the plywood. The fewer obstacles to the escape of smoke and the beam from below, the cleaner the underside of the piece will be.
Post-processing methods: how to save a “black” order
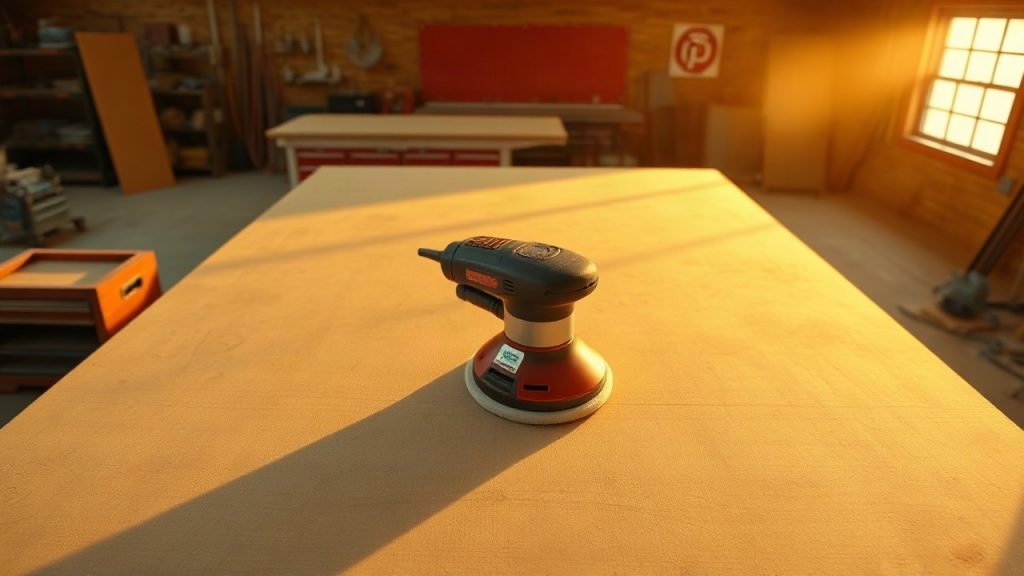
What can you do if, for whatever reason, the cut still came out dark? The first and most obvious solution is mechanical sanding. Using an orbital sander with a grit of P240–P320 lets you quickly remove the film from flat surfaces. To work edges of complex shape, special sanding sponges are used, or even sandblasting with fine-grain sand (or soda), which cleans out char excellently even in hard-to-reach places.
Chemical cleaning also has its place. There are special compounds for removing soot and char, but you have to be careful: excess moisture can cause the veneer to swell. Many craftsmen use ordinary wet wipes (alcohol-free) or a cloth lightly dampened with white spirit for a quick wipe of the edges. This helps remove the loose soot that soils the hands, though it does not greatly change the colour of the cut itself.
If a black edge absolutely does not fit the design, it can be masked. Painting the edges a contrasting colour or using wood stains lets you turn a flaw into a decorative element. A dark-brown or black edge combined with a light front panel often looks stylish and refined — if the effect is achieved deliberately and looks neat.
In some cases ultrasonic cleaning is justified for small parts, but this is exotic for woodworking. More often professionals strive to make the quality of the cut acceptable straight off the machine, since any post-processing means additional hours of manual labour that substantially raise the cost of the finished product. Remember: one hour spent on setting up the machine and choosing the right plywood saves ten hours of sanding.
The future of the technology: lasers that do not burn
The development of technology never stands still, and more advanced systems are coming to replace traditional CO2 lasers. For example, fibre lasers or lasers with ultra-short pulses (femtosecond lasers). Although the latter are still too expensive for the mass production of plywood furniture, they make possible “cold” ablation — removing material without heating the surrounding zones. This opens up the prospect of an absolutely white cut on wood.
Hybrid systems are also developing actively, where not merely air but inert gases (nitrogen) or special cooling aerosols are delivered into the cutting zone. Cutting in a nitrogen atmosphere prevents oxidation (burning) of the wood, which makes it possible to achieve a strikingly clean edge. For now this is used mainly in high-precision industrial production, but over time such technologies become more accessible.
Software is also becoming smarter. Artificial-intelligence algorithms in machine controllers can now analyse the layout in real time and dynamically alter the beam parameters depending on the trajectory, the density of the material (determined by sensors) and even the direction of the wood grain. This minimises the human factor and makes it possible to obtain a consistent result regardless of the operator’s experience.
In the end, the fight against the black edge is a fight for a culture of production. Using quality equipment, clean air, the right materials and accumulated experience makes it possible to turn laser cutting from a “dirty” process into a technology for creating perfect pieces. A clean, honey-coloured plywood cut is a mark of quality that sets a professional workshop apart from an amateur’s handicraft.