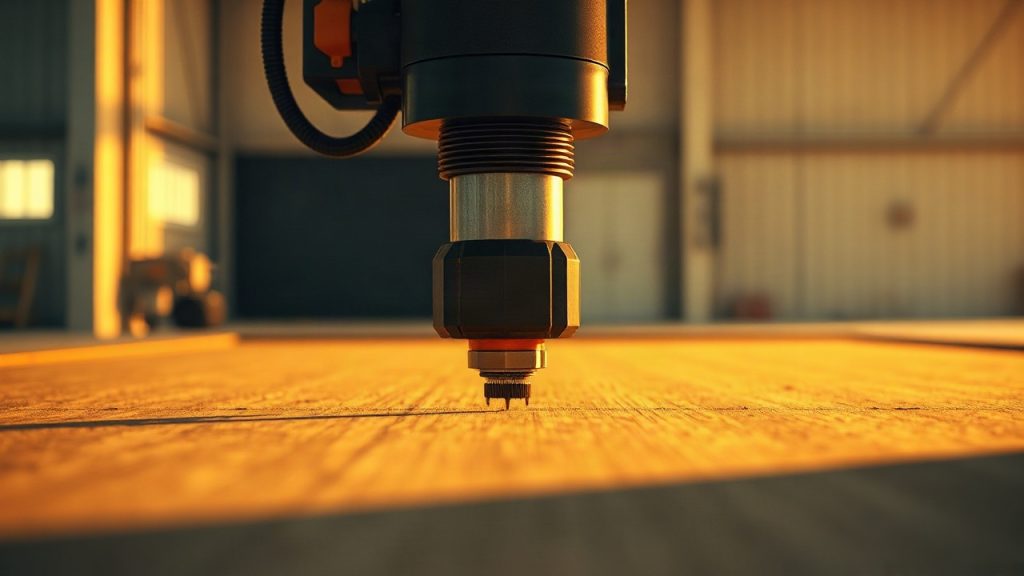
The Physics of the Process: Why MDF “Fuzzes Up” During Milling

To understand how to fight raised fuzz, you need to look inside the MDF panel. It is not a solid piece of wood but a compressed mass of finely dispersed wood fibres bound together with urea resins. The density of this mass is distributed unevenly: the outer layer of the panel is always denser and harder than its core. When the cutter plunges into the material, it passes through the “crust” and reaches the looser layers, where there is less binder and the fibres are arranged chaotically.
The main problem is that under mechanical action the blade does not always cut the fibre cleanly. Instead, it can tear out microscopic cellulose particles that remain sticking up from the surface. These tiny hairs are called “fuzz”. When water- or solvent-based primer or enamel is subsequently applied, these fibres absorb the liquid, swell and stand “on end”, creating a sandpaper-like effect.
The quality of the panel itself plays a paramount role. Cheap MDF sheets often have a loose core structure, which makes it almost impossible to obtain a smooth profile without enormous sanding effort. For high-quality facades destined for enamel, it is recommended to use panels labelled deep-milling MDF. They are distinguished by increased density throughout their thickness and a fine-grained composition, which significantly reduces the risk of fringing.
The temperature in the cutting zone also affects the result. If the tool has gone blunt or the wrong speed is chosen, the material stops being cut and starts to burn or melt. The resins holding the fibres soften, and instead of a clean cut you get a viscous mass that turns into unsightly build-up once it cools. The right temperature regime is the guarantee that the fibres are severed cleanly, without deforming the structure of the panel.
Material moisture is also worth considering. MDF that is too dry becomes brittle, and the milled edges may crumble. MDF that is too damp is guaranteed to produce heavy fuzz, because the fibres will be elastic and will “slip away” from the blade instead of being cut. The ideal moisture level for the job is 6–8%. Only within this range do the physical and chemical properties of the panel allow jewel-like precision of machining.
Beginners often make the mistake of trying to compensate for poor milling quality with an excessive layer of primer. However, primer only emphasises defects if the fuzz has not been removed mechanically. Enamel tends to “tighten” as it dries, and any irregularity hidden under the paint layer will eventually show up as small bumps or “orange-peel” on the glossy or matte surface.
Choosing the Tool: Diamond vs. Carbide
The tool is the heart of the process. For working with MDF, you usually choose between two types of cutter: carbide (HM) and diamond (PCD). Each has its advantages, but for series production of enamel-grade facades the choice more often falls on specialised tooling. Carbide cutters are cheaper and easier to resharpen, but they go blunt fairly quickly against the abrasive adhesive compounds contained in the panel.
Diamond tooling wins on durability by tens of times. A diamond edge keeps its sharpness over thousands of linear metres, which is critical for consistent quality. As soon as the cutter starts to go blunt, it stops cutting the fibre and begins to “stroke” or tear it, which instantly leads to the very fuzz we are fighting against.
The geometry of the cutter matters no less than the blade material. To prevent fuzz, tools with an axial angle (an angled blade) are best suited. Such a cutter works on the guillotine principle, shearing the fibres at an angle rather than striking them with its whole face at once. This achieves a clean edge even on the loose areas of the panel.
| Cutter type | Advantages | Disadvantages | Recommended use |
|---|---|---|---|
| Carbide (HM) | Low price, complex resharpening possible | Rapid wear, requires frequent replacement | Small runs, one-off orders |
| Diamond (PCD) | Huge service life, stable geometry | High cost, brittle under impact | Series production, CNC machines |
| Spiral cutters | Excellent chip ejection, clean cut | Difficult to resharpen profiled sections | Deep groove routing, cutting to size |
It is important to monitor the condition of the bearings and the spindle runout. Even the most expensive cutter will leave a “wave” on the surface if the equipment has play. Micro-vibration is transmitted to the cutting edge, and instead of a smooth plane we get a microscopic ripple that will take a long time to sand out by hand.
Tool cleanliness is another subtlety. Blades often build up deposits of resin and wood dust. This layer increases friction and dulls the cutting edge. Regular cleaning of cutters with special solvents extends their service life and preserves cut quality without overheating the material.
Optimal Cutting Modes on CNC Machines

A properly set-up machine is 70% of success. The main dilemma when milling MDF is the balance between feed rate and spindle speed. If the feed is too slow, the cutter stays in one spot too long, overheats the material and “scorches” it. If it is too fast, the tool starts to vibrate, tearing out chunks of fibre.
For standard MDF operations, professionals recommend sticking to the following parameters (which, of course, need to be adjusted for the specific machine):
- Spindle rotation speed: 18,000–24,000 rpm.
- Feed rate: from 3 to 8 metres per minute depending on cutting depth.
- Material removal per pass: no more than 4–6 mm for finishing.
Using conventional and climb milling strategies can substantially change the result. Climb milling (when the direction of cutter rotation coincides with the feed direction) usually gives a cleaner surface, as the cutter “presses” the fibres down. On lightweight machines, however, this can cause vibration, so conventional milling remains the classic choice for roughing passes.
Multi-stage machining is the secret weapon of experienced craftsmen. Instead of cutting a complex profile in one go, it is better to split the operation into two stages. First, a roughing pass with a 0.5–1 mm allowance. Second, a finishing pass with a sharp cutter at high speed. During the finishing pass the load on the tool is minimal, which lets you shave off the fuzz as neatly as possible and leave the surface practically mirror-smooth.
Do not forget about dust extraction. Effective removal of chips from the cutting zone not only protects the operator’s health but also prevents waste from getting back under the blade. A chip trapped between the cutter and the workpiece scratches the surface and creates extra friction, provoking heat build-up. A powerful extractor is a mandatory attribute of quality milling.
Sanding After Milling: What and How
Even after the most perfect cutter, a microscopic roughness remains on MDF. Sanding is the process that will either turn the workpiece into a masterpiece or ruin the entire geometry. The main rule: do not try to remove fuzz with too coarse a grit. It is better to start with P150 or P180 abrasive, gradually moving to a finer one.
For working internal corners and complex profiles that a sander cannot reach, special sanding sponges or profile blocks are used. Ordinary sandpaper held in the hand can “round off” the sharp edges of the milling, which is critical for modern minimalist designs. Sharp, crisp lines are the sign of an expensive product.
Special attention is paid to the end grain and internal recesses. That is precisely where the MDF structure is loosest. These areas must be sanded until they feel completely smooth to the touch. If, after sanding, you see that the surface has become lighter and “fuzzier”, it means you have opened up the inner layer. This is a signal that this spot will require intensive treatment with a sealer or primer.
Order of manual profile finishing:
- Initial removal of dust and burrs (brush or compressed air).
- Sanding the flat surface with a random-orbital sander (P180 grit).
- Working the profiled sections by hand with a sanding sponge (Fine/Very Fine).
- Checking the surface “against the light” at a low lamp angle.
- Dust removal with tack cloths before priming.
You must not forget the intermediate sanding after the first coat of primer is applied. It is at this moment that the raised fuzz sets and becomes hard. It needs to be carefully “shaved off” with P240–P320 abrasive, taking care not to rub the primer through to the wood. If you do rub through, the process repeats: moisture from the next coat of paint will again raise the fuzz on the exposed spot.
Using Sealers: Blocking Absorbency

In the milled areas, MDF works like a sponge. If you apply enamel straight away, it will sink into the pores, leaving stains and an uneven sheen. To avoid this, people use MDF sealers (or barrier primers). These are special compounds based on polyurethane or acrylic that have very high penetrating power and a fast drying time.
The sealer binds the free fibres and seals the pores, creating a thin but very dense film on the surface. This prevents the subsequent coats of primer and enamel from being absorbed. Using a sealer allows you to save significantly on expensive primer, as its consumption is reduced by 1.5–2 times.
A sealer is especially important for facades that will be painted in dark colours or coated with gloss. On such surfaces, any unevenness in base absorption immediately shows up as visual defects — colour “sink-marks”. The sealer is applied in a thin coat, without runs, giving maximum attention precisely to the milled areas and edges.
After the sealer dries (this usually takes 20 to 60 minutes) the surface becomes “glassy”. It no longer fears the moisture contained in the paint. Some craftsmen prefer to lightly sand the sealer with P320 grit to remove any small dust specks, although many modern compounds lay down so smoothly that they let you move on to priming without intermediate treatment.
Priming: Building the Foundation for Enamel
Primer is the transitional link between loose MDF and decorative enamel. For quality facades, two-component polyurethane or polyester primers are used. Polyester compounds have a huge “solids content”, which makes it possible to fully level the surface in one or two passes and hide all the micro-defects of the milling.
Applying the primer is a critical stage. The first coat is usually applied in thin cross-hatched passes. This ensures the primer reaches all the recesses of a complex milling. It is important to monitor the air pressure in the spray gun and the viscosity of the material. Primer that is too thick will give “orange peel”, too thin will run off the vertical surfaces of the bevels.
After the primer has fully cured comes the stage of final sanding before enamel. This is the most delicate moment. Our task is to make the surface perfectly flat, like a sheet of paper, without wearing away the primer layer on the sharp corners of the milling. Experienced painters use a guide coat powder or a contrasting paint to see all the irregularities while sanding.
Typical priming mistakes:
- Applying too thick a layer at once (risk of cracking).
- Insufficient drying (will lead to enamel shrinkage after a few weeks).
- Using incompatible thinners (blistering of the coating).
- Poor dust removal (bumps under the enamel).
A perfectly prepared primer should have an even matte sheen after sanding with P400 or P600 grit. If you see porous areas in the milling zone, it means the preparation was insufficient and re-priming is required. Remember: enamel does not hide defects, it emphasises them.
The Finer Points of Working with Complex Profiles
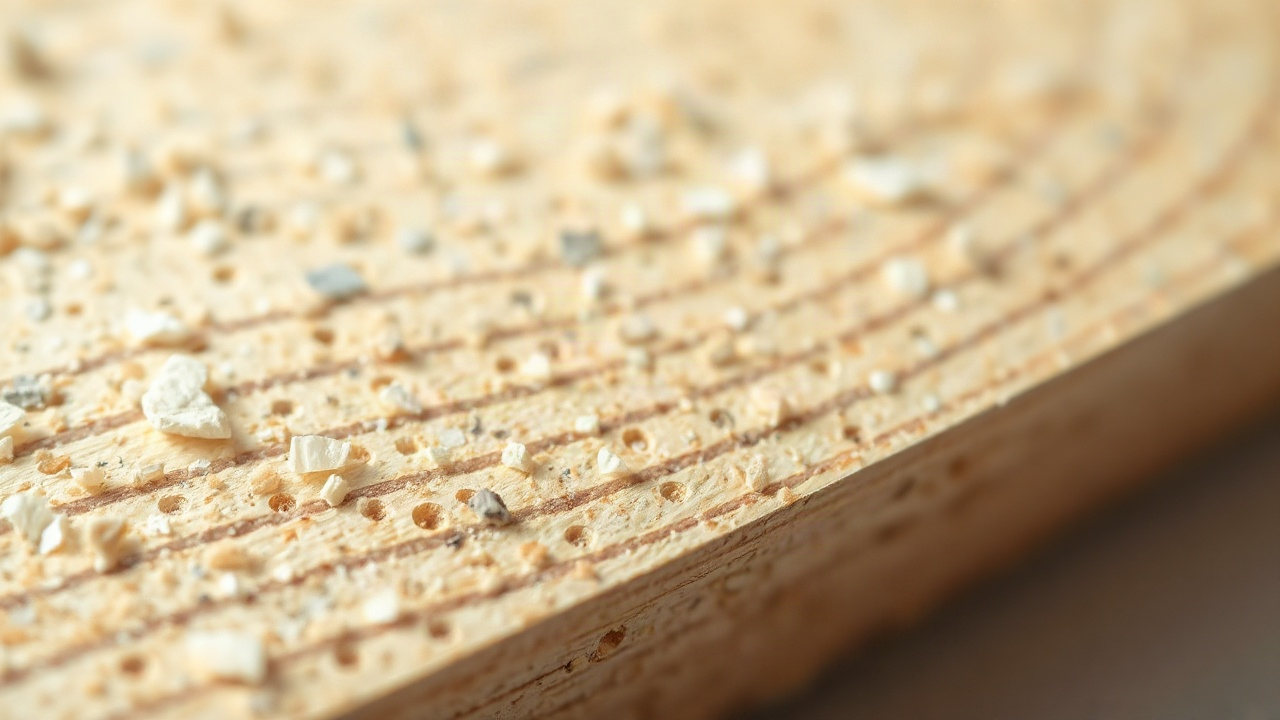
Classic facades with deep panels or the modern “integrated handle” create a host of problems during milling. The more complex the profile, the higher the likelihood of getting a zone with poor surface quality. In narrow, deep grooves the cutting speed effectively drops and chip removal is hindered. These are ideal conditions for scorching and raised fuzz.
When working with complex cutters it is important to use combined cycles. For example, first use an ordinary groove cutter to hog out the bulk of the material, and then a profile cutter to give the finishing shape. This unloads the profile tool, extends its life and significantly improves the quality of the finished surface in hard-to-reach places.
For internal corners, where the cutter radius does not allow perfect sharpness, manual trimming with a chisel is sometimes required. However, modern CNC technologies make it possible to minimise this by using small-diameter cutters (down to 1–2 mm) at the final stage of detailing the corners. This creates a “handmade” effect with machine precision.
Another professional secret is the use of a “sacrificial layer” or special clamps. If the part is poorly fixed on the machine’s vacuum table, it starts to resonate under the action of the cutter. This resonance is the main enemy of a clean surface. Make sure the vacuum pump is working at full power and that the table seals do not let air through.
Quality Control and Preparation for Painting
Before a part goes into the paint booth, it must pass a final inspection. An experienced craftsman checks parts not only with their eyes but also with their hands. Fingers are far more sensitive to microscopic bumps and “under-sanded” areas than eyesight. Run your hand along all the milled lines — they should be smooth as silk.
Visual inspection is best carried out under a strong raking light. A lamp placed almost parallel to the surface of the part will instantly reveal all the shadows from fuzz, the scratches from sandpaper and the unevenness of the sanding. If you notice fuzz at this stage, do not be lazy — send the part back for rework. Fixing defects at the enamel stage will be many times more expensive.
Dust removal before painting is a ritual. It is not enough just to blow it off with compressed air from a gun. The air from a compressor may contain micro-droplets of oil or moisture that will cause craters in the enamel. Use quality moisture-separator filters and special antistatic wipes that do not merely brush the dust away but attract it to themselves.
Pre-enamel inspection checklist:
- No visible fuzz on the milled areas.
- Crispness and uniformity of all edges and corners.
- No “rub-throughs” of the primer down to the MDF base.
- Surface cleanliness (no greasy fingerprints or dust).
- Uniform matteness of the entire surface after sanding.
When all the criteria are met, the facade is ready for the finishing coat. Working with enamel demands the cleanliness of an operating theatre: no dust in the air, the right temperature and humidity in the paint shop. Only with such a comprehensive approach — from choosing the MDF panel to the final sweep of the spray gun — can you achieve a perfect facade that will delight the eye with flawless smoothness for many years.