The Most Common Mistakes in Painting Wooden Products: A Detailed Guide for Professionals and Clients
Wood is a material that is not only the foundation for furniture, interior elements and building structures, but also one that demands a careful, considered approach to finishing. A quality paint finish on a wooden product is not merely a matter of aesthetics; above all, it is a key factor in its durability and performance. In our work we see every day how a poorly executed finish, or the neglect of key process stages, undoes all the effort that went into manufacturing a high-end product.
The aim of this article is to systematise the most typical and critical mistakes made when working with paints and coatings on wooden surfaces. We look at these issues strictly from the standpoint of production processes and hands-on experience, in order to give our clients and partners the most useful and reliable information possible. Understanding these nuances not only helps avoid costly rework, but also ensures that wooden products achieve their stated service life and appearance.
Underestimating and neglecting the wood preparation stage
Preparing the wooden surface for painting is arguably the most critical and most frequently underestimated stage. Many people mistakenly believe that the finish coat will hide minor defects or preparation flaws. In practice, exactly the opposite happens: coatings, especially gloss and semi-gloss ones, tend to highlight any flaws in the substrate. If the wood is not properly prepared, even the most expensive, high-quality varnish or paint cannot deliver a flawless result and a durable coating.
1. Insufficient drying and moisture stabilisation
The number-one mistake is working with wood that has an unstable or excessive moisture content. The standard moisture requirements for joinery and furniture intended for use in heated interiors are usually 8–12%. Painting a material with a higher moisture content will inevitably lead to problems. Excess moisture, seeking to escape after a film-forming coating has been applied, creates internal stress that leads to cracking of the paint layer, blistering and reduced adhesion. Damp wood is also more prone to biological attack, which can develop beneath the coating. We always insist on strict moisture control of the material before the finishing cycle begins.
2. Incorrect or skipped initial sanding
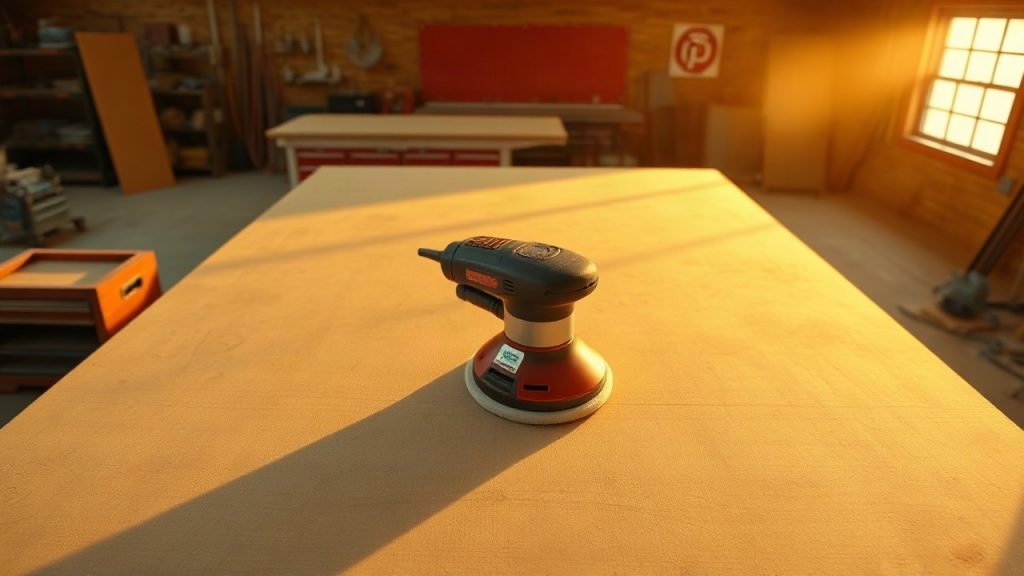
The quality of the final coating depends 80% on the quality of the sanding. Skipping this stage or doing it improperly is a common cause of unsatisfactory results. Sanding must be progressive, using abrasives with steadily decreasing grit. Start with a coarser grit (for example, P80–P100) to remove traces of machining such as tool marks, stains and other rough defects. The final sanding, depending on the wood species and the type of coating, is usually done with P180–P240 grit. A critical mistake is jumping from too coarse a grit straight to the finishing grit without intermediate steps, which leaves deep scratches that are not immediately visible but appear after the coating is applied, especially with stains and tinting products.
3. Failure to treat resinous species and areas with defects
Softwoods such as pine and spruce often contain resin pockets and an excessive amount of resin. If these areas are not treated with special products, the resin will migrate through the paint layer over time under the influence of heat, causing yellowing, colour change, tackiness and delamination of the coating. Special solvents and sealing primers are used to neutralise resin exudation. A similar problem arises with knots: if a knot is not dead and does not fall out, it must be sealed to prevent further exudation of substances.
4. Failure to remove dust and fine fuzz
After each sanding operation, the finest particles of wood dust remain on the surface, and they are extremely difficult to remove completely. Leftover dust is a direct route to defects in the finish coat, such as roughness, “cloudiness” of the varnish or the appearance of inclusions. The use of compressed air, tack cloths and special antistatic products is essential. Before the coating is applied, the surface must be absolutely clean.
5. Skipping the bleaching stage or removal of the old coating
In restoration or repainting work, remaining fragments of the old coating, grease, oil or mould stains are risk zones. A new coating will not achieve the necessary adhesion on contaminated or uneven areas. The mistake is to simply try to “paint over” the problem. The old materials must be completely removed by chemical or mechanical means, and then, if necessary, special bleaching and antiseptic products applied to eliminate biological attack and deep stains.
Incorrect selection and combination of paints and coatings

Choosing the wrong coating system for a specific product and its operating conditions is a fundamental blunder that cannot be corrected by subsequent flawless application technique. The variety of coatings on today’s market requires not a superficial but a deep understanding of their chemical properties and compatibility.
1. Using incompatible primers and finish coats
Paints and coatings have different chemical bases: polyurethane, acrylic, alkyd, nitrocellulose, oil-based. It is strictly forbidden to mix or apply incompatible systems over one another without clear instructions from the manufacturer. For example, applying certain aggressive solvents contained in polyurethane or nitrocellulose varnishes over an acrylic primer can cause lifting, wrinkling or complete destruction of the previous layer. The rule of professional finishing is to always use materials recommended by the manufacturer as part of a single system: primer + finish coat.
2. Wrong choice for the operating conditions
Products for outdoor use (façades, garden furniture) and products for interiors (furniture, floors) require fundamentally different coatings. The mistake lies in using materials with insufficient resistance.
- For exterior work you need products with a high level of UV filters and resistance to temperature and humidity swings (for example, façade paints, oils with wax, special polyurethane or acrylic coatings).
- For interior work wear resistance and safety are important (for example, chemically resistant polyurethane varnishes for kitchen worktops, and safe water-based acrylic products for children’s furniture).
Using interior materials outdoors will cause them to break down and flake quickly.
3. Ignoring the product’s purpose and mechanical load
A coating for a decorative panel and a coating for a parquet floor or a kitchen worktop have completely different strength requirements. Parquet and furniture varnishes are developed for high abrasive and chemical loads. Using an ordinary, soft varnish to finish a working surface (for example, a bar counter) will lead to rapid wear, scratches, marks from hot objects and chemical agents. You need to choose coatings that are specifically classified for the required load level.
4. Mistakes in tinting and colour matching
Tinting is the process of precisely adjusting the colour. A common mistake is that the colour of the coating is judged from a sample in the tin or on a small area, without accounting for the wood species and the lighting.
- Absorption by the wood: Different wood species absorb pigment differently. Porous species such as ash or oak can produce a richer colour than dense ones.
- Effect of the finish varnish: The finish varnish, especially a gloss one or one containing UV filters, can slightly change the shade of the base layer, making it deeper or, conversely, giving it a yellow cast.
Professional tinting must always be accompanied by a test coat on a sample of the same wood species as the actual product, dried to full cure.
Violating the application technology and inter-coat drying
Even with flawless surface preparation and the right choice of materials, mistakes at the application stage can completely ruin the work. The technology is a strict sequence of steps that ensures the physical and chemical strength of the coating.
1. Incorrect temperature and humidity conditions
Paints and coatings, especially water-based ones, are extremely sensitive to the temperature and humidity of the surrounding air. Painting at too low a temperature slows the curing process and can cause cloudiness or insufficient gloss. Too high a temperature or direct sunlight, on the contrary, cause the surface to dry too quickly, preventing the coating from “flowing out” and levelling, causing an “orange peel” effect and also impairing adhesion. High air humidity when working with organic solvents can cause “blushing” (clouding) of the coating. Optimal conditions are strictly within the manufacturer’s recommendations (usually around 20 °C and relative humidity of 50–70%).
2. Applying too thick or too thin a coat
A thick coat of coating is a classic beginner’s mistake, made by those wanting to save time. An excessive amount of material on a vertical surface will inevitably lead to runs and sags. On a horizontal surface, a thick coat takes a very long time to dry, forming a surface skin under which uncured material remains, which risks wrinkling, cracking and loss of strength in service.
Too thin a coat does not provide sufficient coverage, does not form a protective film of the required thickness and wears out quickly. Professional application always involves several thin, even coats with intermediate drying.
3. Skipping inter-coat sanding (removing raised fuzz)
After the first primer or tinting coat is applied, the wood fibres (fuzz), having absorbed moisture and solvents, rise, making the surface rough. Skipping the inter-coat sanding (deglossing) stage, usually with fine-grit abrasives (P280–P400), means the finish coat will lie over this fuzz, and perfect smoothness cannot be achieved. This is a mandatory operation that guarantees smoothness and improves adhesion between coats.
4. Incorrect tool movement and uneven application
When working with a brush or roller, the mistake lies in chaotic, short strokes that do not follow the grain of the wood. This leads to streaks, bands and uneven coat thickness. The correct technique: long, even movements along the direction of the grain, with “dry” tipping-off (without adding material) to even out the thickness. When using a spray gun, the mistake is uneven overlap of the spray fan or the wrong distance from the surface, which leads to missed spots, excessive overspray or, conversely, runs.
Mistakes when working with clear and tinting products
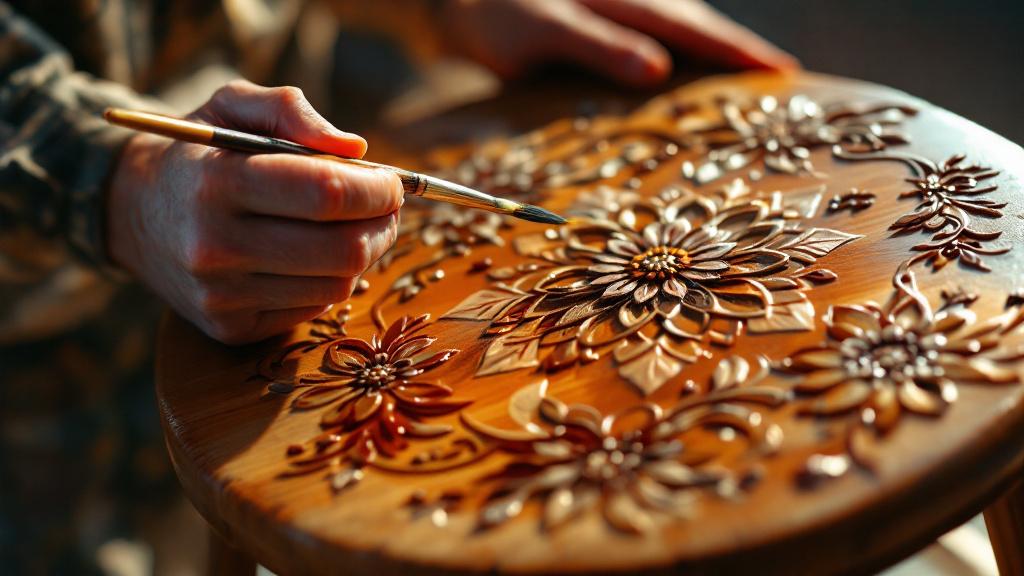
When working with clear varnishes, oils or tinting stains, the goal is to preserve and emphasise the natural texture of the wood. Mistakes in this area are especially noticeable and can completely distort the intended aesthetic of the product.
1. Uneven absorption of tinting products
Wood is a material with a non-uniform structure. Different areas (latewood and earlywood, end grain, knots, zones with defects) have different density and absorbency. Applying a stain or tinting product directly often leads to blotchiness and a “leopard” effect. To avoid this, professionals use sealing primers or carry out a pre-wetting (applying a thin coat of pure solvent) to even out the absorbency of the surface.
2. Incorrect treatment of end grain
The end grain of wooden products absorbs coatings several times more strongly than the face surface, because of the open structure of the fibres. If it is not treated specially, it will turn out considerably darker and more saturated in colour than the main surface. The correct solution is additional, finer sanding of the end grain, or its sealing by applying an extra coat of primer or diluted varnish before the main tint.
3. Mistakes when working with fuzz-raising stains
Many traditional water-based stains cause significant raising of the fuzz, which requires additional sanding after they dry. The mistake is careless sanding after staining, which can lead to removal of pigment from the protruding fibres, especially on corners and edges, causing “rub-throughs” and lightening of these areas. In production, preference is often given to solvent-based stains or oils that raise the fuzz less or not at all.
4. Insufficient saturation with oil or wax
When finishing with oils and waxes , the mistake is applying an insufficient amount of material. These coatings do not form a thick film but penetrate the structure of the wood, protecting it from within. Insufficient saturation causes the coating to wear off quickly, fail to provide the necessary water resistance and leave the product looking “dry”. Professional technique requires applying the material until the wood stops actively absorbing it, followed by the mandatory removal of the excess from the surface to avoid tackiness and uneven sheen.
Ignoring the curing time and starting use too early
Painting a product does not end when the last coat of coating has dried to the touch. Physical drying and full chemical curing (polymerisation) are different processes with different timescales. Ignoring this fact leads to damage to the coating at the very start of use.
1. Premature packaging or stacking
If a product is wrapped in film or stacked before the coating has fully reached its final hardness, sticking (blocking) occurs. The coating, especially if it is a gloss or semi-gloss varnish, remains soft for quite a long time, and on contact with packaging material or another product, marks, imprints or tearing-away of the layer appear on it. For each type of coating there is a clearly defined time before “assembly/packaging”, which can range from 24 hours to several days.
2. Early exposure to moisture and chemicals
Water resistance, chemical resistance and resistance to abrasive wear of a coating are only achieved once the polymerisation process is complete. The mistake is to install the product or hand it over to the client while the coating has not yet reached all its performance properties. For example, if you immediately start wiping a freshly painted worktop with household cleaners or spilling water on it, this can lead to clouding, whitish spots or softening of the varnish film.
3. Mistakes in the drying conditions
The polymerisation process is a chemical reaction that depends on temperature and air circulation. In industrial settings, drying chambers are used where optimal conditions are maintained. With an amateur or basic workshop approach, the mistake is drying in a room with poor ventilation or at low temperatures. This not only slows the process but can also cause incomplete curing of the material, which affects its strength and durability.
4. Incorrect storage of finished products
After painting, the product must be stored in a clean, dry room, protected from direct sunlight and temperature swings. Storage in conditions of high humidity or near heat sources can adversely affect the quality of the coating.
Using poor-quality or expired tools and materials

The quality of the final coating depends directly on the tool with which it is applied. Saving money on brushes, rollers or spraying equipment is a false economy and leads to rejects.
1. Using poor-quality brushes and rollers
Cheap brushes often have loosely fixed bristles that stay on the painted surface, requiring additional sanding and repainting. Rollers made of unsuitable material (for example, with too long a nap for gloss varnish) leave a pronounced “orange peel” (texture) that cannot be removed. For each type of coating (water-based, oil-based, polyurethane) and desired effect (gloss, matt) there is a specific recommended nap type and tool material.
2. Incorrect setup and maintenance of the spray gun
Professional spraying requires a precise balance between air pressure, coating viscosity, nozzle diameter and material feed rate. The mistake is incorrect adjustment, which leads to:
- Excessive overspray (too high pressure or low viscosity) — some of the material flies off, and the coating turns out dry and rough.
- Runs (too low pressure, too much material feed or too close a distance) — excess builds up on the surface.
- “Spitting” and an uneven spray fan — usually the result of a dirty nozzle or air passages.
Regular cleaning and precise adjustment of the equipment are essential conditions for quality spraying.
3. Using expired or contaminated coatings
Paints and coatings have a limited shelf life, after which their chemical composition may change (viscosity changes, polymerisation is disrupted, pigment settles out). Using an expired material often leads to unpredictable results — poor drying, weak strength, colour mismatch. Similarly, contamination of the coating (dust, old paint particles or solvents getting in) leads to inclusions and defects on the surface.
Mistakes when working with wood species prone to defects
Different wood species have different physical and chemical properties, which requires adapting the finishing technology. Ignoring these differences is a common cause of failure.
1. Working with “soft” species without proper protection
Soft species such as pine or spruce are easily damaged in use. The mistake is applying soft varnishes to them. Products made from these species require the hardest and most wear-resistant coatings (for example, two-component polyurethane varnishes) to compensate for the low hardness of the wood itself. In addition, soft species are more prone to resin exudation.
2. Incorrect treatment of exotic and oily species
Some exotic species (teak, iroko, rosewood) contain a high amount of natural oils and resins. These substances act as natural release agents and can impede the adhesion of standard paints and coatings. Attempting to apply ordinary varnish to such wood without prior degreasing treatment (usually with special solvents) will lead to delamination of the coating. In most cases, for these species we recommend special oils or oil-based systems that are compatible with their chemistry.
3. Ignoring coarse-pored species
Coarse-pored species (oak, ash, wenge) have a pronounced texture with open pores. If an “open pore” effect is not required, the mistake is skipping the pore-filling operation (grain filling). Without filling the pores, the coating sinks into these hollows, forming microscopic craters that greatly reduce gloss and smoothness. To achieve a perfectly even surface, you need to apply grain fillers (filler primers) before the finish coat.
Problems with adhesion and delamination of the coating
Poor adhesion (bonding) is the most serious defect, which means the entire painting job was done wrong. The root cause always lies in a violation of the preparation or process stages.
1. The presence of contaminants and release agents
As already mentioned, grease, silicone, wax, detergent residues or even fingerprints are critical release agents. If they are present on the surface, the coating will not be able to form a strong bond. This leads to local delamination (flaking). You must use special degreasers immediately before applying the primer or the first coat of coating.
2. Incorrect curing of previous coats
Applying a second coat of coating over an incompletely cured (still wet) first coat can lead to poor adhesion between the coats (inter-coat delamination). The outer layer may seem dry, but the inner layer has not yet gained strength. This causes a “lifting” or wrinkling effect in the new coat. You must always strictly observe the minimum and maximum inter-coat drying time specified by the manufacturer.
3. Unsuitable sanding between coats
If inter-coat sanding uses too fine a grit (for example, P600 and above), the surface becomes too smooth and “glassy”. The next coat of coating has no necessary “mechanical grip” and may delaminate. On the other hand, too coarse a grit leaves scratches that show up on the finish. The optimal grit for deglossing is P280–P400.
Appearance defects related to application
These mistakes directly affect the aesthetics of the product and often require complete removal of the coating to correct.
1. The “orange peel” effect
This is a common defect in which the surface of the coating has a pronounced bumpy texture resembling the skin of an orange. Causes:
- Too high a coating viscosity (insufficient thinning or too low a temperature).
- Incorrect spray gun setup (too high pressure and heavy overspray).
- Too rapid drying (high air temperature or an incorrectly chosen solvent).
The material dries before it has time to fully “flow out” and level.
2. Runs and sags
Runs occur when an excessive amount of material is applied to vertical surfaces. Gravity pulls the excess downwards, forming thickened areas.
Causes:
- Too thick a coat.
- Low viscosity (excessive thinning).
- Too close a distance when spraying.
They can only be corrected by sanding and reapplying the material.
3. Clouding (blushing) of the varnish
This defect often occurs when working with solvent-based coatings. Clouding (sometimes called “fogging” or “blushing”) is the result of condensation of moisture from the air on the surface of the rapidly evaporating solvent. The sharp drop in temperature at the coating surface as the solvent evaporates causes moisture to condense and, getting into the coating, disrupts its optical clarity. This happens at high air humidity in the spray booth.
Mistakes when working with multi-layer and complex effects
Creating complex decorative effects such as patina, a brushed (wire-brushed) effect or two-tone painting requires particular precision. Mistakes here are usually related to failing to follow the sequence and to work carefully.
1. Incorrect order of applying multi-layer systems
When working with patina, stains or a “whitewashing” effect, there is a strict process chart. The mistake is disrupting the sequence of coats. For example, applying the finish varnish before the patina product has been fully wiped off and dried will lead to smearing of the patina and a dirty, low-contrast colour. Each decorative coat must be sealed (fixed) with a thin coat of varnish or primer before the next coat is applied.
2. Careless wiping and removal of excess
Decorative effects such as patina or a brushed effect often require manual wiping to remove excess material from flat surfaces and leave it only in the pores or hollows. Careless or uneven wiping leads to:
- Over-wiping: Removing too much material from corners and edges.
- Under-wiping: Leaving too much material on flat areas, which looks sloppy.
The wiping process must be fast and even across the entire surface of the product.
3. Insufficient sealing of the decorative coat
Decorative products (for example, water- or alcohol-based stains, patina) often do not have high mechanical strength and require mandatory sealing (isolation) with a finish varnish. Ignoring this stage means the decorative effect wears off at the very first cleaning or mechanical contact, especially on furniture fronts or worktops.
Conclusion
The quality of painting wooden products is not a matter of chance but a direct consequence of strict adherence to the technology at every stage. Mistakes, from insufficient drying and surface preparation to failure to observe the curing time, are the most common causes of rejects and complaints. Our production pays maximum attention to controlling each of the stages listed, using modern equipment and only certified coating systems. This approach lets us guarantee our clients not only aesthetic perfection but also the stated durability of every wooden product we make.