Using angled cutting to create complex wooden products
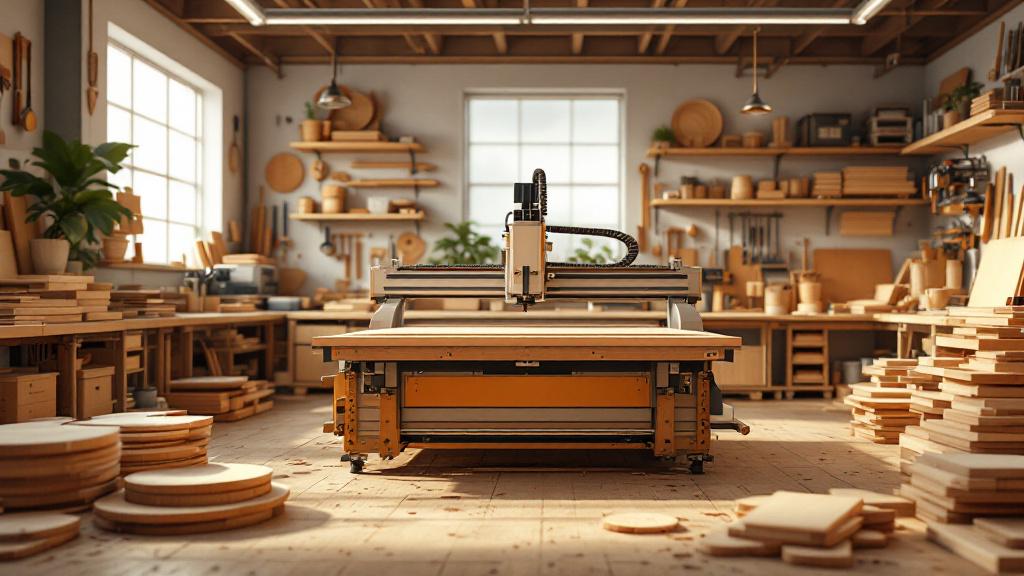
Angled cutting of wood is a technological process in which the material is cut at a set angle to its main axis or plane. This method is fundamental in joinery and furniture manufacturing, making it possible to create joints that are notable not only for their high strength but also for their aesthetic appeal. Unlike a straight cut, which mainly serves to divide blanks into parts, angled cutting is aimed at forming complex geometric shapes and precise mating of parts. Mastering this technique opens up virtually limitless possibilities for the craftsman to realise unconventional projects, from making multifaceted structures to creating complex decorative elements.
The use of angled cutting is not limited to creating standard 45-degree joints for frames or boxes. The technology makes it possible to work with any angles, which is a key factor in the production of architectural elements, custom furniture and exclusive interior pieces. For example, when making bay-window sills, polygonal worktops or components of complex-shaped frames, the precision of the angled joints determines both the appearance and the durability of the final product. A well-executed angled cut ensures a tight fit between parts, minimises gaps and creates a joint that looks monolithic — one that is difficult and often impossible to reproduce with other processing technologies.
The importance of angled cutting also lies in its effect on the distribution of load within a structure. A properly designed and executed angled joint is able to withstand significant mechanical loads, which is especially relevant for load-bearing furniture elements such as table and chair legs or sofa frames. The strength of such a joint is achieved by increasing the contact area of the glued surfaces and by correctly orienting the wood fibres. Modern equipment, including mitre saws with rotating mechanisms and CNC panel saws, makes it possible to achieve the highest cutting precision, which is the guarantee of the reliability and durability of complex wooden products.
The aesthetic component of angled cutting is no less important. Creating “seamless” joints, where the wood grain flows from one face to another, requires the craftsman to have not only precision but also an artistic vision. This technique, known as a “mitre joint with continuous grain”, is often used in the making of high-end furniture and decorative panels. It makes it possible to hide the end grain of the wood and create the illusion of a single solid mass of timber bent at the required angle. This approach significantly increases the visual value of the product, transforming it from a utilitarian object into a work of the joiner’s art.
The complexity of the technology lies in the need for precise calculation of the angles and lengths of the blanks. The slightest error in measurement or in setting up the equipment can lead to gaps in the joint, a distortion of the geometry of the whole product and, as a result, a reject. Therefore, professional woodworking in this direction requires not only high-quality tools but also deep knowledge in the fields of geometry and materials science. The craftsman must take into account the properties of the specific wood species, its moisture content, its tendency to deform and the direction of the grain in order to achieve a perfect result.
In the context of providing woodworking services, mastery of the angled-cutting technique is an indicator of a company’s high professionalism. Customers who order the making of custom products expect flawless execution. A company’s ability to make complex angled joints with high precision speaks to the presence of modern equipment and qualified specialists capable of realising a project of any complexity. This competitive advantage makes it possible to work with more valuable and interesting orders, from private interior solutions to large architectural projects.
Besides furniture production, angled cutting finds wide application in construction and finishing. Making elements of rafter systems, decorative beams, surrounds for windows and doors of non-standard shape, and elements of staircase flights — all of this requires the precise fitting of parts at various angles. The quality of these joints directly affects the safety, functionality and appearance of the whole structure. Thus, angled cutting is an integral part of comprehensive woodworking services.
Ultimately, angled cutting is a combination of engineering precision and a creative approach. This technology makes it possible to overcome the limitations imposed by the rectilinear nature of sawn timber and to create wooden products of complex, organic and expressive forms. For a company engaged in woodworking, offering high-precision angled-cutting services means the ability to satisfy the boldest requests of clients and to occupy its own niche in the market for exclusive wooden products.
Tools and equipment for precise angled cutting
The basis for high-quality angled cutting is specialised equipment. The mitre saw (or “chop saw”) is the key tool in this process. Its main feature is the ability to rotate the saw blade in the horizontal plane (for a mitre cut) and to tilt it in the vertical plane (for a bevel cut). The combination of these two adjustments makes it possible to perform complex compound cuts, needed to join parts in several planes at once — for example, when making cornices or multifaceted columns. Modern models are fitted with laser cut-line indicators and digital displays for setting a precise angle, which minimises the likelihood of error.
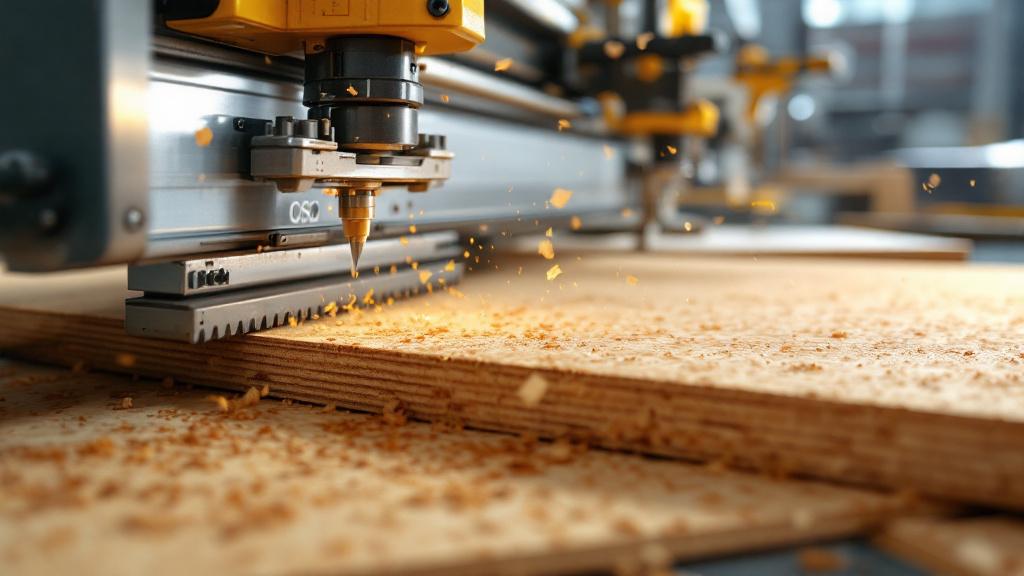
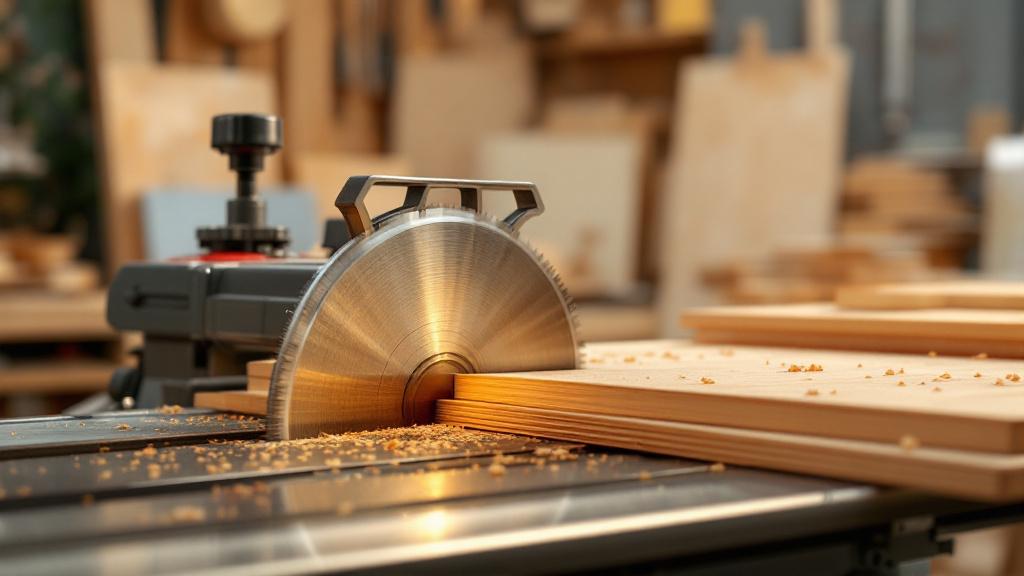
For working with large-format sheet materials such as plywood, MDF or edge-glued panels, the panel saw is indispensable. Its advantage lies in the presence of a long sliding carriage on which the blank is fixed. The carriage ensures smooth and rectilinear movement of the material relative to the saw blade. The saw unit of such a machine can also be tilted, which makes it possible to cut large sheets at a set angle with high precision and a clean cut. The use of a scoring blade prevents chipping on laminated or veneered surfaces, which is critically important for furniture production.
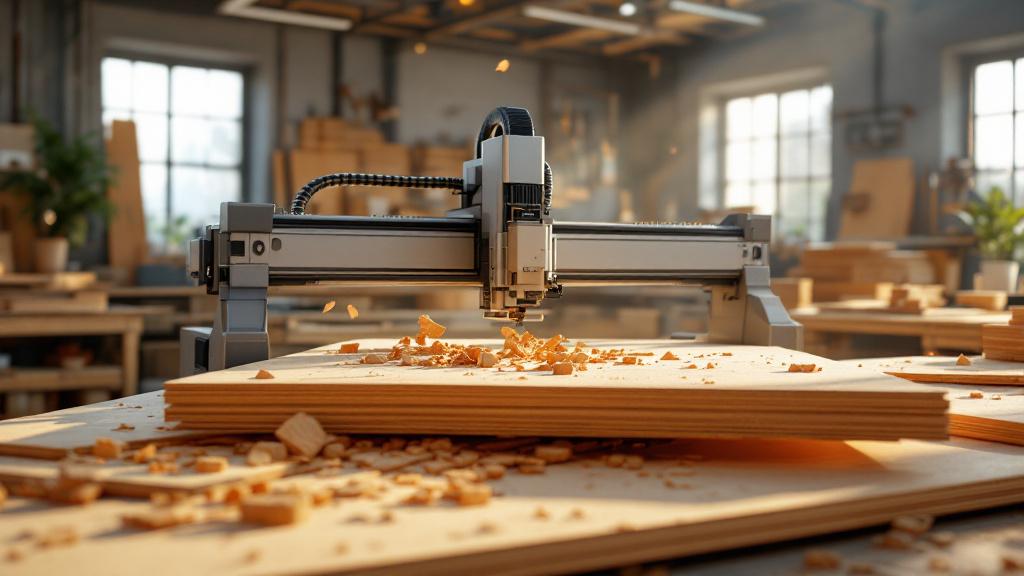
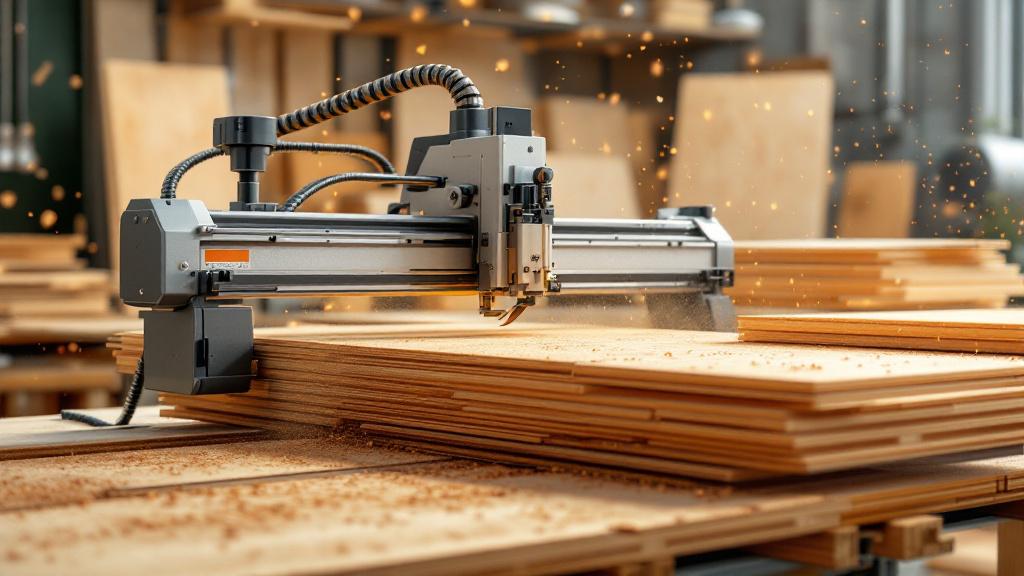
In serial and high-precision production, computer numerical control (CNC) machining centres are increasingly used. These machines are able to perform angled cutting with the highest degree of automation and repeatability. A program created on the basis of a digital model of the product controls the movement of the cutting tool along three or even five axes. Five-axis CNC machines can process a part at any conceivable angle, creating complex curved surfaces and joints that are practically impossible to make by hand or on manually controlled machines. This opens the door to producing exclusive designer furniture and complex architectural elements.
Despite the dominance of power tools, hand tools do not lose their relevance, especially in restoration work or when making one-off pieces. Japanese saws (nokogiri) with a thin blade and special tooth sharpening make it possible to make very clean and precise cuts. High-precision squares, bevel gauges and digital angle finders are used to check and mark angles. The bevel gauge, in particular, is an indispensable tool for transferring non-standard angles from one part to another or from a drawing to a blank. Quality hand tools in the hands of an experienced craftsman make it possible to achieve results comparable in precision to machine processing.
To ensure a perfect joint quality after the cut, the correct preparation and subsequent processing of the edges is important. A spindle moulder or a hand router with the appropriate cutters is used to finish the cut surfaces, create profiles on the edges or cut grooves to reinforce the joint (for example, for biscuits or dowels). In some cases, especially when working with valuable wood species, the edges can be worked with a hand plane. A perfectly smooth and even cut surface ensures the maximum contact area during gluing, which directly affects the strength and appearance of the joint.
Measuring and marking tools also play an important role. Without accurate marking, even the most modern machine will not give the desired result. A professional’s arsenal should include not only tape measures and rulers but also callipers, micrometers and, as already mentioned, digital angle finders. The latter make it possible to measure and set angles to within tenths of a degree. The use of quality marking tools, such as marking gauges and marking knives, makes it possible to draw thin and clear lines, which contributes to more precise sawing.
For the serial production of identical parts with angled cuts, specialised jigs and templates are indispensable. They can be either factory-made or home-made, created for a specific task. For example, a “sled” for a circular or band saw makes it possible to safely and precisely crosscut blanks at a set angle. Templates are used for quick and precise marking or for guiding the tool when routing complex joints. The use of such aids significantly speeds up the work process and guarantees high repeatability of results.
In the end, the choice of equipment depends on the specific task, the scale of production and the required precision. For a small joinery workshop specialising in individual orders, a set consisting of a quality mitre saw, a hand router and precise measuring tools may be sufficient. A large furniture production making serial products cannot do without panel saws and CNC machining centres. However, regardless of the level of equipment, the key factor remains the qualification of the staff — the ability to correctly set up and effectively use the available equipment.
Choosing wood for projects with complex angles
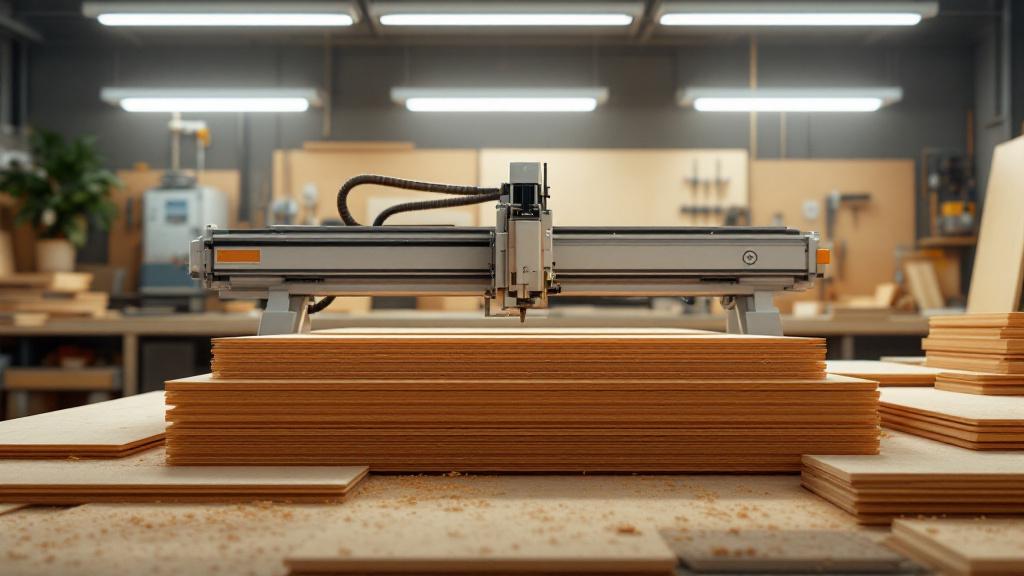
Far from every wood species is equally well suited to making products with complex angled joints. The choice of material is one of the decisive factors affecting the quality, durability and appearance of the final product. The main criteria to pay attention to are density, hardness, stability (resistance to deformation with changes in moisture and temperature) and the structure of the wood fibres. An incorrectly chosen material can lead to cracking of the joints, chipping during processing or deformation of the whole product over time.
Some of the best materials for precise angled cutting are considered to be hard deciduous species with a fine-pored and homogeneous structure. These include:
Maple: It has high density, hardness and wear resistance. Its light, almost white wood with a homogeneous texture makes it possible to create very clean and neat cut lines. Maple holds sharp edges excellently and hardly chips at all, which makes it ideal for making complex joints in furniture and musical instruments.
Cherry: A valuable species with a beautiful reddish-brown hue and a smooth texture. Cherry is easy to work, glues and polishes well, and its stability makes it possible to use it in projects that require high joint precision, for example when making cabinets and exclusive furniture.
Walnut (especially American walnut): Renowned for its strength, moderate hardness and magnificent texture. Walnut wood is stable and lends itself well to all types of machining. The clean and smooth cuts obtained during angled cutting, combined with its rich colour and figure, make it a favourite for producing decorative panels, gun stocks and expensive furniture.
Oak is also often used thanks to its high strength and expressive texture. However, its coarse-pored structure can create certain difficulties. When sawing across the grain, there is a risk of chipping along the edges of the cut. Therefore, working with oak requires the use of a very sharp, fine-toothed tool and, ideally, the use of anti-chip inserts on the machines. Despite this, with the right approach oak makes it possible to create extremely strong and durable angled joints, which makes it indispensable in the production of doors, staircases and solid-wood furniture.
Softwoods such as pine or spruce require a special approach. Their wood is less dense and more prone to denting and chipping. To obtain a clean cut on softwoods, it is necessary to use saw blades with a large number of teeth and a negative or neutral sharpening angle. It is also important to take into account the presence of knots and resin pockets, which can complicate processing and weaken joints. Nonetheless, thanks to its availability and ease of processing, pine is widely used in construction — for example, for making rafter systems and frames, where the requirements for a clean cut are not as high as in furniture production.
Exotic wood species, such as wenge, zebrano or padauk, can present a real challenge for the craftsman. Many of them have a very high density and contain abrasive particles (silica), which leads to rapid wear of the cutting tool. Their fibres often have an interlocked (interwoven) structure, which increases the risk of chipping during angled cutting. Working with such materials requires the use of carbide or diamond-coated tools and careful selection of cutting and feed speeds.
In addition to solid wood, sheet materials are also often used to create products with complex angles. These include:
MDF (medium-density fibreboard): An ideal material for angled cutting. Thanks to its homogeneous structure without fibres and knots, MDF cuts very cleanly at any angle without chipping. This makes it an excellent base for products to be painted or veneered.
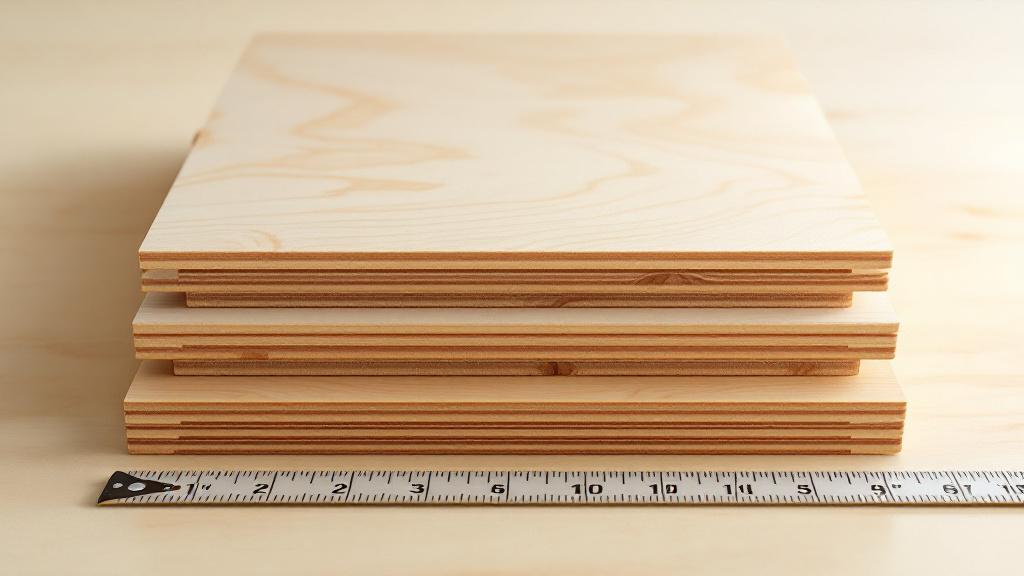
Plywood (especially birch plywood): It has high strength and stability thanks to the cross arrangement of the veneer layers. When cutting plywood, it is important to use a sharp tool to avoid splitting the top veneer layers. Quality plywood holds its shape well and makes it possible to create reliable angled joints.
The most important factor affecting the result is the moisture content of the wood. The material must be dried to its in-service moisture content (usually 6–8% for products used indoors). The use of green wood is unacceptable. As it dries, it will change its dimensions and shape (warp, shrink), which will inevitably lead to a distortion of the geometry of the angled joints, the appearance of gaps and the destruction of the glue line. Therefore, before starting work, you should always check the moisture content of the material with a moisture meter.
In the end, the choice of wood is always a compromise between the desired appearance, performance characteristics, complexity of processing and cost. For critically important projects, where precision and stability come first, preference should be given to hard deciduous species with a homogeneous structure. For less demanding or budget projects you can use softwoods or sheet materials, but with mandatory account of their features during processing.

Geometry and calculations: the foundation of precision
Successfully creating complex wooden products by means of angled cutting is impossible without a deep understanding of the basics of geometry. Unlike simple straight joints, where it is enough to measure the length, angled joints require precise calculation of the cutting angles and the lengths of the blanks. The slightest inaccuracy in the calculations will lead to the parts not coming together properly, forming gaps or distorting the overall geometry of the structure. This is the case where mathematics directly determines the quality of the joinery work.
A fundamental concept is the cutting angle. To create a simple angled joint (for example, a frame with four 90-degree corners), each of the two parts being joined must be cut at an angle equal to half the total angle. In the case of a rectangular frame, the total angle is 90 degrees, so the cutting angle for each part will be 90 / 2 = 45 degrees. This principle works for any regular polygon. For example, to create an octagonal tabletop, where each internal angle is 135 degrees, the cutting angle for each of the eight parts will be 135 / 2 = 67.5 degrees.
The difficulties begin when working with irregular polygons or when joining parts in different planes. Here simple arithmetic is no longer enough, and trigonometry comes to the rescue. The sine, cosine and tangent functions become the joiner’s working tools. They make it possible to calculate not only the cutting angles but also the exact lengths of the sides, diagonals and other elements of the future structure. For example, when designing a staircase with a turning landing or a bay window, it is necessary to precisely calculate the angles at which the strings meet the posts and each other.
The compound (combined) angled cut deserves special attention. It is necessary when a part needs to be joined at an angle not only in the horizontal plane but also in the vertical one. A classic example is making a cornice for a ceiling. The cornice element is tilted relative to the wall and ceiling, so to join it at the internal or external corner of a room, both a mitre angle and a bevel angle must be set on the mitre saw at the same time. Calculating these two angles is a non-trivial task, for the solution of which there are special formulas, tables and online calculators.
It is important to understand the difference between the length along the short side and the long side of a blank cut at an angle. When marking and setting up the machine, it is necessary to have a clear idea of exactly which dimension is the reference one. For example, when making a frame, its external or internal dimensions are usually specified. Based on these data and the width of the frame profile, the lengths of the blanks are calculated. An error in the choice of the reference length (for example, measuring along the long side instead of the short one) will result in the whole structure coming out the wrong size.
Modern technologies significantly simplify the calculation process. There are specialised design programs (CAD), such as AutoCAD, SolidWorks or SketchUp. They make it possible to create a precise three-dimensional model of the future product. The program automatically calculates all the necessary angles and lengths with the highest precision. All the dimensions needed for hand work can be taken from the model, or the data can be exported directly to a CNC machine, which completely eliminates errors associated with manual calculations and marking.
However, even when using software, the craftsman needs to understand the physical meaning of the operations being performed. This helps to control the process, to detect possible errors in the model in time and to understand how the material will behave during processing. For example, the program may not take into account the thickness of the saw kerf, which in serial production can lead to an accumulation of error. An experienced specialist will always make the necessary correction based on the parameters of their equipment.
A practical aspect of the calculations is making test cuts. Before cutting expensive material, it is always recommended to make several trial cuts on offcuts of the same thickness. This makes it possible to check the accuracy of the angle set on the machine, assess the quality of the cut and make sure that the parts come together perfectly, without gaps. To check the accuracy of a right angle, a try square is used; for other angles, a precise protractor or digital angle finder. This stage makes it possible to save material and time and to avoid the disappointment of a ruined job.
In conclusion, geometry and precise calculations are the invisible but absolutely essential foundation for creating quality angled joints. Whether it is a simple picture frame or a complex spatial structure, the success of a project depends 90% on the correctness of the mathematical work done before the saw touches the wood. A professional approach to woodworking implies a fluent command of this knowledge, whether with the help of a pencil and calculator or using modern software.
Techniques and methods of angled cutting
Mastering angled cutting implies not only the ability to calculate an angle but also command of specific practical techniques that ensure the cleanness, precision and repeatability of the cut. These methods vary depending on the tool used and the complexity of the task, but they are all aimed at achieving one goal — creating a perfect joint. Both the strength and the aesthetic appearance of the finished product depend directly on the correct execution of these operations.
One of the basic techniques is working on a mitre saw. The key to success here is the correct set-up and calibration of the machine. Before starting work, it is necessary to make sure that the angle scale corresponds to the actual position of the saw blade. This is checked with a precise square for a 90-degree angle and a protractor for a 45-degree angle. The correct grip on the blank is also important: it must be firmly pressed at the same time against the back fence (the bed) and the work table of the machine. Any shift or vibration at the moment of the cut will lead to inaccuracy. Smooth and even feeding of the saw blade through the material ensures a clean cut without burning or chipping.
When working with a circular or plunge saw to make angled cuts, a guide rail is often used. The rail ensures perfect straightness of the cut, which is critically important when cutting long blanks or sheet materials. The cutting angle is set on the saw itself by tilting its base plate. To increase precision and prevent chipping on the face side of the material, it is recommended to use an anti-chip strip, which is stuck to the rail. It is also important to remember that the cut should be made from the reverse side of the blank, so that any small chips remain on the invisible part.
The “stop block” technique is indispensable when making several parts of the same length, for example the sides of a frame. After making the first angled cut on a blank, a small wooden stop block is fixed to the fence of the machine (or to a special guide). The blank is butted against this stop block, after which the second cut is made. This simple technique guarantees that all subsequent parts will have absolutely identical length, which is the guarantee of the correct geometry of the final structure.
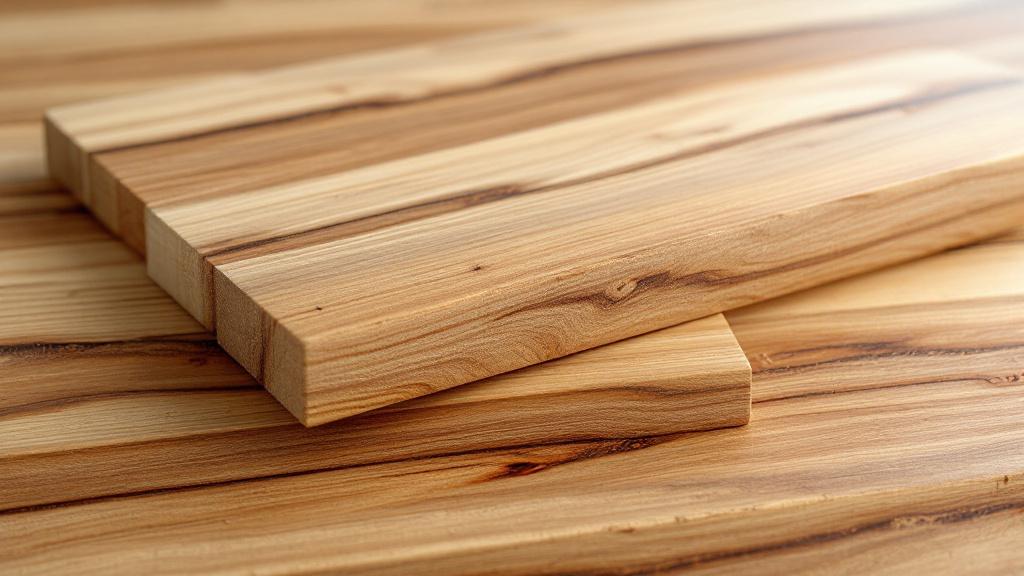
A special sequence of operations is used to create “seamless” joints with continuous wood grain. The two parts being joined are cut from a single wide board. First, the board is ripped lengthwise into two parts. Then these parts are opened out “like a book”, so that the inner sawn edges become the outer corners of the future joint. After that, an angled cut (for example, at 45 degrees) is made on the ends of both blanks. When these parts are joined, the grain pattern will flow perfectly from one plane to the other, creating the effect of a single solid mass.
When working with materials prone to chipping (for example, laminated boards or wood with brittle fibres), the scoring technique is used. The first cut is made not to the full depth but only a few millimetres deep. This shallow cut scores the top, most brittle layers of the material. Then the second, main cut is made to the full depth. On the second pass, the saw blade runs exactly along the already existing groove, which prevents the fibres from tearing and chipping, ensuring a perfectly clean edge. On panel saws this function is performed by a special scoring blade.
Reinforcing angled joints is a separate and important aspect of the technology. Simply gluing the end grain, especially across the fibres, does not provide sufficient strength. Therefore, various reinforcement methods are used:
Dowels: Coaxial holes are drilled in both parts being joined, into which cylindrical wooden inserts are glued.
Biscuits: Oval slots are cut with a router, into which special compressed beech inserts (biscuits) are glued; on contact with the glue they expand, ensuring a very strong joint.
Splines or “keys”: After the corner is glued up, shallow slots are cut across the joint, into which thin plates of wood (splines) are glued. This not only increases the strength of the joint many times over but can also serve as a decorative element.
For complex, non-standard angles that cannot be set on the machine by standard means, special aids — jigs or fixtures — are made. These are, in essence, templates with precisely set angles, along which the tool is guided or in which the part is clamped for processing. Making such an aid takes time and high precision, but it pays off when several identical complex joints need to be made, guaranteeing their complete identity.
Command of these and other techniques distinguishes the professional from the amateur. The ability to choose the right method for a specific task, material and tool, as well as to combine several techniques to achieve the best result, is an indicator of high craftsmanship. It is precisely this that allows our company to realise projects of any complexity, guaranteeing clients flawless quality and durability of wooden products.
Advantages and disadvantages of the angled-cutting method
The angled-cutting method is a cornerstone of modern joinery and furniture manufacturing, offering a number of undeniable advantages. However, like any technology, it has its limitations and drawbacks, which must be taken into account when designing and making products. Understanding both sides of the coin makes it possible to make considered decisions and choose the optimal way of joining parts for each specific case.
Key advantages of angled cutting:
Aesthetic appeal: The main merit of angled joints, especially mitre joints, is their appearance. They make it possible to hide the end-grain cut of the wood, which often has a less attractive texture and absorbs finishing materials less well. Creating a continuous grain pattern that flows from one face to another gives the product the look of a monolithic, solid piece of wood, which significantly increases its visual and commercial value.
High strength (with proper reinforcement): Although the joining of end grain at an angle is not in itself the strongest joint, the use of modern adhesives and reinforcement techniques (dowels, biscuits, splines) turns it into a very reliable unit. The increased gluing area compared with a simple butt joint and the correct distribution of load make such structures durable and resistant to mechanical stress.
Geometric precision: Angled cutting makes it possible to create structures with very precise geometry. This is critically important when making products where perpendicularity or set angles matter, for example carcass furniture, window frames and doors. Properly executed angled joints ensure the rigidity of the frame and prevent its deformation during use.
Versatility and flexibility: The technology makes it possible to create not only standard rectangular structures but also products of complex multifaceted shapes. Making hexagonal and octagonal worktops, bay-window elements and complex decorative objects becomes possible precisely thanks to precise angled cutting. This expands the horizons of design and makes it possible to realise the boldest architectural and interior solutions.
Disadvantages and difficulties of the method:
High demands on precision: Angled cutting does not forgive mistakes. An inaccuracy of even half a degree in the cut will lead to a noticeable gap in the joint. An error in the length of the blank also becomes critical. This requires the use of high-precision equipment, its regular calibration and a high level of operator skill. Any carelessness at the stage of measuring, marking or sawing will inevitably lead to a reject.
Increased complexity and labour intensity: Compared with straight joints, angled cutting requires significantly more time and effort. Precise calculations, careful set-up of the equipment and often the making of special aids are needed. The process of gluing and fixing parts at an angle is also more complex and requires the use of specialised clamps and fixtures.
Weakening of sharp corners: The external corner of a joint, especially if it is acute, can be quite fragile and vulnerable to impacts and chipping. The thin wood edge at the tip of the corner is easily damaged. This must be taken into account when designing products that will be subject to intensive use, and it may be worth providing additional edge protection (for example, rounding it over or using stronger wood species).
Increased material consumption: When making an angled cut, wedge-shaped offcuts are produced, which in most cases are unusable waste. This leads to somewhat greater material consumption compared with straight cutting. When working with expensive and valuable wood species, this factor can have a noticeable effect on the final cost of the product.
Despite the difficulties listed, the advantages of angled cutting in most cases outweigh its drawbacks, especially when it comes to producing high-quality products. The difficulties associated with precision and labour intensity are successfully overcome with the help of modern equipment (for example, CNC machines) and well-established technologies. The problem of strength is solved by competent reinforcement of the joints. Ultimately, the choice in favour of angled cutting is a choice in favour of quality, aesthetics and durability, which is a priority for any company striving to occupy a leading position in the woodworking market.
Application in making complex products: examples
The possibilities opened up by angled-cutting technology are most vividly manifested in the process of creating custom, complex and exclusive wooden products. It is precisely in such projects that the precision and aesthetics of the angled joints come to the fore, determining the final result. Let us consider a few specific examples where this method is not merely one of the options but the only possible way to achieve the set goal.
Making multifaceted worktops and furniture elements. Imagine the task of making an octagonal table for a meeting room or a hexagonal cabinet. To create such a structure, it is necessary to join eight or six trapezoidal segments. The outer sides of these segments must come together at a certain angle, forming a perfect polygon without gaps. Angled cutting makes it possible to make the end cuts on each segment with the highest precision, ensuring their perfect fit to each other. Further reinforcement of the joints with dowels or biscuits guarantees the strength of the whole structure.
Producing architectural and interior elements. Bay windows, often found in modern architecture, require the making of sills, cornices and surrounds of complex shape. These elements must precisely follow the geometry of the walls, which meet at non-standard angles. With the help of angled cutting, it is possible to make parts that fit together perfectly at the corners of a bay window, creating a single, harmonious composition. In the same way, decorative ceiling beams are made for rooms with complex ceiling geometry, or multi-level coffered ceilings.
Creating “live-edge” or “river” tables with complex contours. In the tables that are popular today, where solid wood is combined with epoxy resin, the “waterfall” technique is often used, where the wood grain from the horizontal surface of the tabletop smoothly “flows” onto the vertical leg. This effect is achieved by cutting a single slab at a 45-degree angle and then joining the two parts. Angled cutting here makes it possible to preserve the continuity of the grain pattern, creating the illusion that the board was simply bent. This requires jeweller’s precision, as any gap will destroy the whole magic of the effect.
Making musical instruments. The bodies of acoustic guitars, violins and cellos consist of many wooden elements (sides, plates, necks) joined at strictly defined angles. Angled cutting is used to form the frame of the instrument and to fasten braces and other elements that affect not only the strength but also the acoustic properties. The slightest deviation in geometry can irreparably spoil the sound of the instrument, so in this field the demands on the precision of angled joints are the highest.
Producing exclusive carcass furniture. Designer cabinets, chests of drawers or shelving units can have unconventional geometry — bevelled corners, trapezoidal shapes, asymmetric fronts. For example, a cabinet intended for installation in an attic room under a sloping roof will have side walls of different heights and a bevelled top. Angled cutting makes it possible to precisely fit all the carcass parts to each other, ensuring the rigidity of the structure and a perfect fit of the fronts.
Decorative panels and marquetry. In creating complex wall panels or decorative inlays from different wood species, angled cutting is used to cut out the individual geometric elements. The precision of the cut allows these elements to fit together without gaps, forming a complex ornament or design. The marquetry technique is, in essence, the pinnacle of the joiner’s art, where the angled cutting of small parts plays a key role.
Frames for pictures and mirrors of non-standard shape. In addition to classic rectangular frames, there is demand for oval, polygonal or even asymmetric frames. To create a polygonal frame, each of its segments must be cut at a strictly calculated angle, so that in the end a closed figure of the correct shape is obtained. The more corners there are in a frame, the higher the demands on the precision of each individual cut, since error has a tendency to accumulate.
All these examples demonstrate that angled cutting is not merely a technical operation but a powerful tool in the hands of a designer and craftsman, making it possible to turn wood into genuine works of art and complex engineering structures. Our company’s ability to perform such work to a high standard testifies to the presence of advanced equipment and deep expertise in the field of woodworking.
Safety at work: key rules
Working with woodworking equipment, especially when performing such precise operations as angled cutting, involves an increased risk. Saw blades and cutters rotating at enormous speed do not forgive inattention and disregard for safety rules. Ensuring safe working conditions is an absolute priority in any production, since the health and lives of employees depend on it. Observing safety practices is not a formality but a production necessity.
Use of personal protective equipment (PPE). This is the first and most important rule.
Safety glasses or a face shield: Mandatory when working on any machine. They protect the eyes from flying shavings, dust and, in the very worst case, from fragments of a saw blade or blank.
Earmuffs or earplugs: Woodworking machines create a high level of noise, which can lead to irreversible hearing damage. Hearing protection must be used at all times.
Respirator: Wood dust, especially fine dust, is harmful to the lungs and can cause allergic reactions and chronic diseases. The use of a respirator of the appropriate protection class is mandatory, especially when working with MDF or exotic wood species.
Clothing and footwear: Work clothing should be comfortable and not restrict movement, but at the same time have no dangling elements that could be caught by the rotating parts of a machine. Footwear should be closed, with a sturdy, non-slip sole.
Proper organisation of the workplace. Clutter around the machine is a direct path to injury. The work area should be well lit and free of offcuts, tools and unnecessary objects. Blanks should be neatly stacked in a specially designated place. The presence of an effective chip-extraction (dust-collection) system not only ensures cleanliness but also improves visibility in the cutting area and reduces the concentration of dust in the air.
Preparation of equipment and tools. Before switching the machine on each time, it is necessary to carry out a visual inspection. Check the secure fastening of the saw blade, the guards and the fences. The saw blade must be sharp, clean and free of damage (cracks, broken teeth). A blunt or damaged blade increases the load on the motor, worsens the quality of the cut and significantly increases the risk of the blank kicking back. All adjustments and settings of the machine (setting the angle, cutting height) must be made only when it is completely disconnected from the mains.
Safe working technique. The operator’s hands should never be on the line of the cut. To feed small blanks, special push sticks must be used. This simple aid makes it possible to keep the fingers at a safe distance from the saw blade. When working with a mitre saw, the blank must be securely fixed, not held in mid-air. It is especially dangerous to saw very short parts that are difficult to clamp securely — it is better to refuse such operations.
Preventing kickback. Kickback is one of the most dangerous phenomena when working with sawing machines. It occurs when a blank is pinched by the saw blade and thrown with enormous force towards the operator. To prevent this phenomenon, it is necessary to use a riving knife (on circular and panel saws), always keep the blank firmly pressed against the fence and avoid sawing curved or warped boards, which can jam the blade.
Knowing and following the instructions. Every employee allowed to work on a machine must undergo appropriate training and instruction, as well as thoroughly study the operating manual of the specific model of equipment. The instructions contain important information about the machine’s capabilities, its correct set-up and the limitations that must not be exceeded.
Procedure in an emergency situation. Every worker must know exactly where the machine’s emergency stop buttons are and how to use them. It is also necessary to know the location of the first-aid kit and to be able to provide basic first aid for cuts and other injuries. Regular drills and briefings help to consolidate this knowledge.
Observing these rules is not a guarantee of a complete absence of accidents, but it reduces their likelihood many times over. In our company we give safety issues the utmost attention, because we understand that no product, however complex and beautiful, is worth a person’s health. Professionalism in woodworking is not only the ability to make precise cuts but also the ability to do it safely.
Finishing and assembly of products
The final and one of the most critical stages of creating a complex wooden product is its assembly and finishing. It is precisely at this stage that the individual, precisely cut parts turn into a single whole, acquiring a finished look and protection from external influences. The quality of these operations directly affects the durability, appearance and tactile feel of the finished product. Even a perfectly executed angled cut can be spoiled by careless assembly or an incorrectly chosen finish.
The assembly process begins with a “dry” fit. All the parts are joined without glue to make sure they fit perfectly. At this stage, the geometry of the whole structure, the absence of gaps in the joints and the general correctness of the assembly are checked. If the slightest inaccuracies are revealed, they are eliminated before the glue is applied. This may require additional fitting of the parts with a hand tool, for example a plane or a sanding block. This stage makes it possible to avoid unpleasant surprises when the glue has already been applied and time to correct mistakes is limited.
Gluing follows. The choice of glue depends on the wood species and the operating conditions of the future product. For most indoor work, the optimal choice is PVA-based (polyvinyl acetate) glues, such as Titebond. They provide a high-strength joint, sufficient working time and are safe to use. The glue is applied in a thin, even layer to both surfaces being joined. It is important not to overdo the amount of glue, as its excess, squeezed out onto the surface, can interfere with the subsequent finishing.
After the glue is applied, the parts are joined and fixed in clamps. Proper fixing is the key to a strong joint. The pressure of the clamps must be sufficient to ensure tight contact of the surfaces, but not excessive, so as not to squeeze all the glue out of the joint. To fix angled joints, special corner clamps or band clamps are used, which distribute the pressure evenly around the entire perimeter of the product, for example a frame. It is important to monitor the angles of the structure during clamping in order to avoid its deformation.
After the glue has fully dried (the curing time is indicated by the manufacturer), the clamps are removed and the product moves on to the sanding stage. Sanding removes small unevenness, tool marks and excess glue, preparing the surface for the finishing coat. The process usually begins with a medium-grit abrasive (for example, P120) and gradually moves to a finer one (P180, P220 and above), depending on the desired smoothness of the surface. Special attention is paid to the joints, to make them as invisible as possible.
The choice of finish is a decision that determines not only the appearance but also the protective properties of the product. There are many options:
Oil and wax: These finishes penetrate the pores of the wood without forming a film on the surface. They beautifully emphasise the natural texture and colour of the wood, creating a pleasant tactile feel. Oil with wax is ideal for worktops, cutting boards and eco-style furniture. The finish requires periodic renewal but is easily repaired locally.
Lacquer (polyurethane, acrylic, nitrocellulose): Lacquers create a strong protective film on the surface, which effectively resists moisture, scratches and abrasion. They can be glossy, matt or satin. Lacquer is an excellent choice for furniture that is subject to intensive use, for example tables, chairs and doors.
Stain: Used to tint the wood, give it a different hue or even out the colour. Stain penetrates the structure of the wood but does not protect it. Therefore, after staining, the surface must be coated with lacquer or oil.
Applying the finish requires care and observance of the technology. The surface must be thoroughly cleaned of dust. The lacquer or oil is applied with a brush, roller or spray gun in several thin layers, with mandatory intermediate drying and light sanding between coats. This ensures the maximum smoothness and durability of the finish.
In some cases, after the main finishing, additional decorative techniques may be used, such as patination (artificial ageing), brushing (bringing out the wood texture by removing the soft fibres) or polishing to a mirror shine. These techniques give the product a unique and finished look.
Each of these stages requires no less professionalism and attention to detail than the cutting process itself. It is precisely a comprehensive approach, from a precise cut to a flawless finish, that allows our company to create wooden products that will delight their owners with beauty and reliability for many years.
Conclusion: prospects and innovations in angled cutting
Angled-cutting technology, despite its centuries-old history, continues to develop actively, integrating the latest achievements in the fields of software, machine building and materials science. The prospects of this direction in woodworking are associated with increasing precision, automation and the expansion of creative possibilities for designers and architects. Innovations in this field are aimed at making the process of creating complex products faster, more economical and more accessible.
One of the key vectors of development is the improvement of CNC equipment. Five- and even six-axis machining centres are becoming increasingly widespread. They make it possible to perform not just angled cuts but complex spatial processing of parts without the need to reset them. This opens up the possibility of creating biomorphic shapes, complex curved junctions and integral structures, where several elements are made from a single blank. Robotic systems, able to load blanks, perform processing and unload finished parts on their own, minimise the human factor and make it possible to organise almost fully automated production.
The development of software plays no less an important role. Modern CAD/CAM systems not only make it possible to design three-dimensional models but also automatically generate control programs for CNC machines, optimising the tool path, cutting speed and feed rate. Integration with virtual (VR) and augmented (AR) reality technologies makes it possible for designers and customers to “see” the future product in the interior even before its production begins, to make corrections and approve the project interactively. Cutting-optimisation programs help to use the material as efficiently as possible, minimising the amount of waste.
Innovations in the cutting tool also make their contribution. The development of new carbides, the use of diamond coating (PCD) and the improvement of the tooth geometry of saw blades and cutters make it possible to process the most complex and abrasive materials at high speed and quality. The tool becomes more wear-resistant, which reduces the cost of its replacement and sharpening, as well as ensuring stable cut quality over a long period.
New approaches to the cutting process itself are also appearing. For example, laser and waterjet cutting technologies, which have long been used for metal and stone, are beginning to be adapted for working with wood too. Laser cutting makes it possible to perform very thin and precise cuts of complex configuration, which is ideal for decorative products and inlay. Waterjet cutting is able to cut significant material thicknesses without thermal effect, which is important for preserving the structure of the wood. For now these technologies are quite expensive, but their potential in creating exclusive products is enormous.
Another promising direction is the integration of angled cutting with additive technologies (3D printing). Even today there are projects where the load-bearing frame of a product is made of wood using traditional methods, while complex joining units or decorative elements are printed on a 3D printer from polymers or even metal powder. This makes it possible to create hybrid structures that combine the warmth and naturalness of wood with the strength and geometric freedom of modern materials.
In the context of woodworking services, following these trends is the key to competitiveness. A company that invests in modern equipment, trains its specialists to work with new software and is not afraid to experiment with innovative technologies will always be able to offer its clients unique and high-quality solutions. Angled cutting ceases to be merely a craft operation and turns into a high-tech process that blurs the boundaries between the joiner’s art, engineering and digital design. The future of this technology lies in even greater precision, flexibility and the ability to embody the boldest ideas in wood.