Stages of Filling and Sanding Wooden Products: Creating a Flawless, Even Surface
Woodworking is not merely a mechanical process but a true craft, in which every stage is decisive for the final result. In our work, when we create furniture, interior elements or other products, we always pay special attention to the final preparation of the surface. It is precisely filling and sanding that are the key operations transforming a rough blank into a smooth, perfect base ready to receive the finish – be it lacquer, oil or paint. Creating an impeccably even surface with no visible defects is the guarantee of a product’s durability and aesthetic appeal.
The Preparatory Stage: Assessing and Cleaning the Surface
Before starting the main work, it is necessary to carry out a thorough assessment of the wooden surface. At this stage we evaluate the overall condition of the material and identify all the defects that need to be remedied.
Even after initial machining, the surface of wood may contain numerous natural and manufacturing flaws: fine cracks, chips, knots (especially loose or defective ones), marks from fasteners or tools, as well as uneven pores and fibres.
Each of these defects calls for an individual approach and the choice of the optimal method of repair. The choice of filler compound and the plan for further work depend directly on the quality of the assessment. Small, barely visible pores can be filled with a finishing coat of filler, whereas deep cracks or large gouges will require multi-layer application or the use of special repair compounds.
The next critically important step is cleaning the surface. The wood must be absolutely free of any contamination, including dust, resin, grease stains or remnants of old coatings if it is a matter of restoration.
Dust left after preliminary sanding or sawing can significantly reduce the adhesion (bond) of the filler to the wood. The filler compound simply will not be able to penetrate the pores and anchor securely, which will later lead to it peeling off or cracking.
For cleaning we use industrial vacuum cleaners, special degreasing agents (to remove resin or greasy marks) and, if necessary, a damp cloth, which must then be replaced with a dry one so that the surface dries completely.
It is also important to pay attention to the moisture content of the wood. Before filling and sanding, the moisture content must not exceed the permissible values (usually 8-12% for furniture), otherwise the drying of the filler will be disrupted and it may shrink excessively.
When working with certain wood species prone to resin bleed (for example, softwoods), additional treatment with special blocking compounds or the complete removal of resin pockets may be required to prevent them from bleeding through the finish.
Only after thorough cleaning and drying can we guarantee that the filler will lie evenly, provide the required strength and cause no problems at the subsequent finishing stages. The preparatory stage is therefore not a mere formality but the fundamental basis for achieving flawless quality in the finished product.
Choosing the Filler Compound: Materials Science in Action
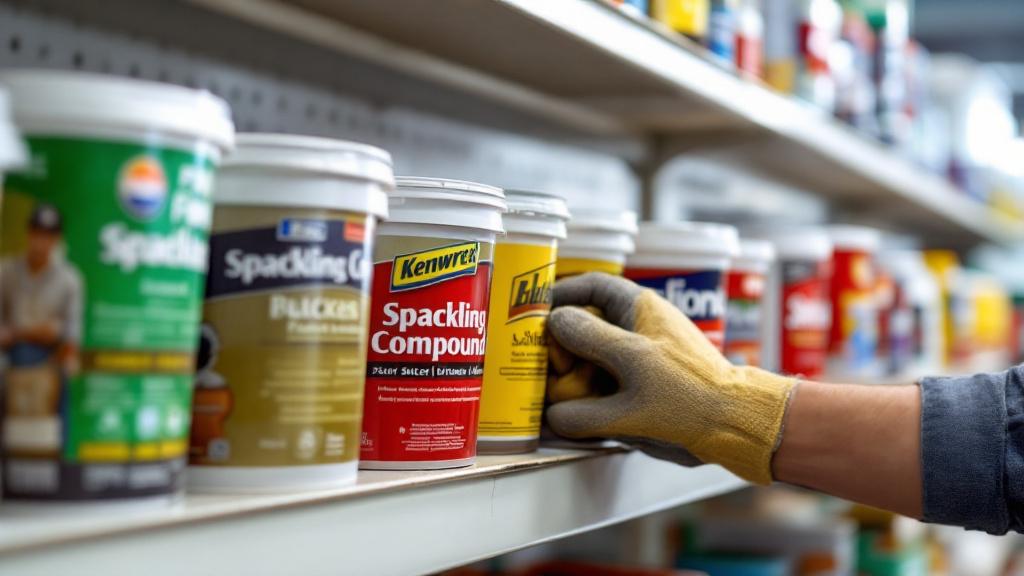
Choosing the right filler compound is one of the key factors determining the success of the entire process. The market offers a wide range of materials, and each has its own characteristics, advantages and limitations.
Our decision is always based on several parameters: the wood species, the service conditions of the future product (indoor or outdoor use), the size and depth of the defects, as well as the type of finish.
The following types of filler are most often used in woodworking:
- Acrylic fillers (water-based): This is the most popular and versatile choice for indoor work. They are distinguished by high elasticity, eco-friendliness, low odour and excellent adhesion. They dry quickly and sand easily. However, they are not suitable for very deep defects because of the risk of shrinkage. Acrylic compounds are often available in various shades imitating the colour of popular wood species.
- Two-component polyester (epoxy) fillers: These compounds are indispensable for repairing deep, major defects such as large cracks, chips or damaged corners. They offer high strength, minimal shrinkage and excellent moisture resistance. Once cured, they can be worked like wood itself: drilled, cut, and nailed. Their main drawback is that they are harder to sand than acrylic fillers, and the components must be mixed in precise proportions.
- Nitrocellulose fillers: Used less often, mainly for minor defects. They dry quickly but require good ventilation because of the solvents they contain. They provide high hardness but are less elastic.
For outdoor work, where the product will be exposed to moisture, UV radiation and temperature fluctuations, we always choose compounds with enhanced moisture and weather resistance, such as special exterior-grade acrylic or epoxy fillers.
Colour matching deserves particular attention. If the planned finish preserves the wood grain (clear lacquer, oil, stain), the filler must as closely as possible match the shade of the species being worked once it has been toned. Experienced craftsmen often use fillers that can be tinted with wood dust collected when sanding the same product, so as to achieve a perfect colour match.
If, on the other hand, the product is to be completely coated with opaque paint, the colour of the filler is less critical, though light shades are preferable to prevent pigment from showing through the finish.
It is also necessary to take into account the drying time of the filler, especially when working with large volumes or multi-layer application. This affects the overall productivity of the workshop and the lead time for the order. Choosing professional fast-drying compounds allows the workflow to be optimised without compromising quality.
Ultimately, choosing a filler is a balanced decision that takes into account the chemical composition, mechanical properties and aesthetic requirements of the project. The wrong material can create more problems than it solves, which is why we always approach this stage with the utmost responsibility and knowledge of materials science.
Filler Application Technique: From a Small Defect to an Even Plane
Applying filler is not merely a matter of smearing over defects but a precise technological operation that demands care and an understanding of how the material behaves. The main goal is to fill the voids while minimising excess application onto undamaged areas.
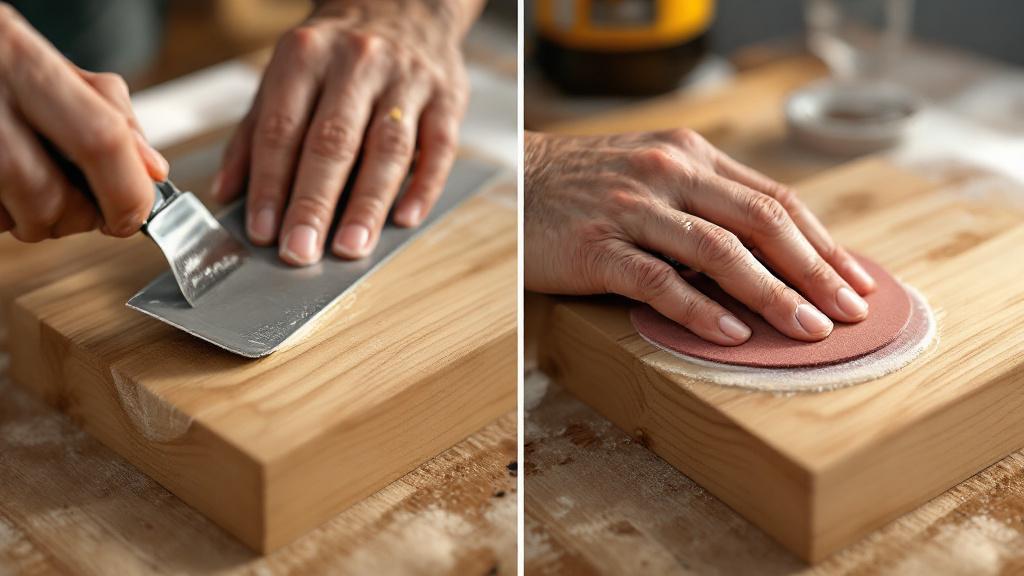
For this work we use putty knives of various widths and flexibility – metal, plastic or rubber. The choice of tool depends on the nature of the defect: for small, localised damage it is more convenient to use a narrow, rigid knife that lets you press the material in precisely. For filling long cracks or levelling large areas, a wide and more flexible knife is used.
Rules of application:
- Localising defects: If a defect is deep (more than 3-5 mm), the filler is applied in layers. Each successive layer is applied only after the previous one has fully dried, to avoid excessive shrinkage and cracking. Very large gouges may require reinforcement, for example with a fibreglass mesh (scrim) over the first layer.
- Pressing in: The filler compound must not simply be applied over the defect but pressed into the cavity or crack at an angle. This ensures maximum filling of the pores and displacement of air, which provides a strong bond (adhesion).
- Applying as a skim coat: When working with fine pores or for continuous levelling of the surface, the filler is applied in a very thin layer – a skim coat. This means the knife is held at an acute angle to the surface and almost all of the material is removed, remaining only in the fine pores.
- Excess: Once the defect is filled, the knife is drawn at an angle (about 45-60 degrees) to the surface in order to remove the excess material and level the area as much as possible with the surrounding wood. It is always better to leave a slight surplus (a small “crown”) than a shortfall, because the material will shrink as it dries and the final sanding will remove it completely.
- Direction of movement: Where possible, the filler is applied and removed across the grain of the wood. This lets the material fill open pores and cracks better and at the same time makes it easier to sand off the excess afterwards.
Special attention is paid to working with corners and joints. Precision is important here so as not to clog the adjacent surfaces with filler. Corner knives are used, or a technique in which the filler is applied in one direction and then levelled with the other side of the knife to form a crisp edge.
Monitoring the drying is a critically important stage. The drying time is strictly specified by the manufacturer and depends on the temperature, air humidity and layer thickness. Ignoring this time is one of the most common mistakes, leading to cracks and “sink marks” after the finish is applied. In our production we strictly control the microclimate to provide optimal conditions for the filler to cure.
Once fully dry, before moving on to the final sanding, a preliminary clean-up is often carried out – removing the most protruding excess filler with a sharp knife or very coarse sandpaper to make the subsequent work with sanders easier.
The mastery of applying filler lies not only in neatness but in the ability to save material and time by minimising the excess that would otherwise have to be removed later by long and laborious sanding.
Coarse Sanding (Calibration): Removing the Largest Irregularities
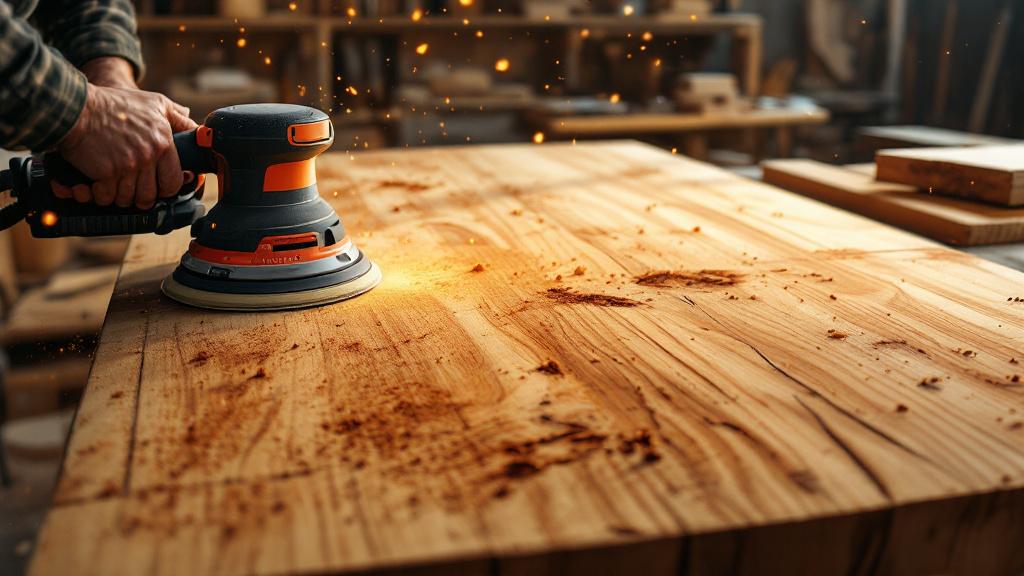
Coarse sanding, or calibration, is the first step after the filler has dried and precedes the final finishing. The aim of this stage is to remove all protruding excess filler material, level the patches with the main wood surface, and also eliminate the large manufacturing irregularities left after sawing or milling.
For coarse sanding, abrasives with a coarse gritare used, usually in the range from P60 to P100. The specific grit is chosen according to the wood species (softer wood requires a finer grit to avoid deep scratches) and the amount of material to be removed.
In industrial production, flat surfaces are calibrated using belt sanding machines or powerful belt sanders of the hand-held type.
Coarse sanding technique:
- Pressure and speed: It is important to apply moderate and even pressure to the tool. Excessive pressure can lead to overheating of the wood (especially around knots), the formation of “waves” on the surface, or deep scratches that will be difficult to remove at later stages.
- Direction: Coarse sanding is always carried out strictly along the grain of the wood. Sanding across the grain at this stage, with a coarse abrasive, leaves very deep, visible scratches that cannot be hidden even under a thick layer of finish.
- Checking: After sanding an area, the surface must be checked regularly, both by touch and visually. The surface should become uniform, with no abrupt transitions between filler and wood.
At this stage special attention is paid to the areas where filler has been applied. The edges of the patches should blend smoothly into the surrounding wood, without any steps. Insufficient sanding will leave bumps that show through after the finish is applied; excessive sanding will cause an undesirable depression (dip) around the repaired area.
The coarse sanding stage can also correct small height differences between adjacent elements of the product, for example at the joints of furniture panels or parquet strips.
A large amount of dust is generated when coarse sanding is complete. Mandatory dust extraction using industrial vacuum cleaners and ventilation systems is not only a matter of a clean workplace but a necessary condition for moving on to the next stage. Remaining dust can clog the abrasive or get under the sanding pad, leaving additional scratches.
Coarse sanding is the stage of forming the geometry. It sets the basis for all further work, and its quality determines how even and smooth the final surface will be.
Raising the Wood Grain (Hydrothermal Preparation)
Once the surface has been sanded with a coarse abrasive and fully levelled, before the final sanding it is necessary to carry out a procedure known as grain raising (or “opening the pores”). This stage is particularly important if water-based stains, lacquers or paints are to be used as the finish.
The point is that sanding smooths down the protruding fibres of the wood. However, when a water-based compound is applied to this smooth surface, the water penetrates the wood, causes the fibres to swell and makes them rise – a phenomenon called grain raising.
If this procedure is not carried out in a controlled way before the finish is applied, the grain will rise after the first coat of lacquer or stain, and the surface will become rough, requiring additional, often difficult, sanding over the coating.
The grain-raising technique:
- Wetting: The surface that has been coarse-sanded is treated with clean water (preferably distilled or purified, to avoid salt stains) or a special water-based primer with a low solids content. The application must be even, with no puddles forming.
- Drying: The product is left to dry completely and naturally under controlled temperature and humidity. This can take from a few hours to a full day. The wood fibres swell and rise, becoming perceptible to the touch and visible under raking light.
- Secondary sanding: After the surface has fully dried (when it becomes rough), a secondary, control sanding is carried out using a fine-grit abrasive (usually P180-P220). At this stage only the raised fibre tips are removed, without touching the main, already levelled layer.
The purpose of this secondary sanding is to ensure that the grain no longer rises after the first coat of finish is applied. By removing the raised fibres, we obtain a perfectly smooth surface that will stay that way even after impregnation.
For some wood species, especially those prone to heavy grain raising (for example ash or oak), this stage may be repeated twice.
The grain-raising procedure is essential for achieving a high-quality finish. Neglecting it inevitably means the coating will not look perfectly smooth but will have a slight “roughness”, which is unacceptable for high-end furniture and exclusive wooden products.
Controlling this process requires experience, since it is necessary to determine precisely the moment when the wood is sufficiently wetted but not oversaturated, and when it has dried completely and is ready for the final treatment.
Final Sanding: Achieving a Perfectly Smooth Surface
Final sanding is the last and most crucial stage before the finish is applied. Its task is to remove all micro-scratchesleft by the previous, coarser abrasives, and to give the surface a silky smoothness and tactile perfection.
The final sanding process is always carried out step by step, gradually increasing the abrasive grit. You must not skip grit steps (for example, going straight from P100 to P320), because the finer abrasive will not be able to remove the deep scratches left by the coarser one, and they will show through the finish.
A typical sequential sanding scheme:
- P80-P100: Coarse calibration (removing filler and large defects).
- P120: Removing scratches from the previous stage.
- P150 (or P180): Intermediate sanding.
- P180 (or P220): Final preparation, including removing the grain raised after wetting.
- P240-P320: Final sanding for maximum smoothness.
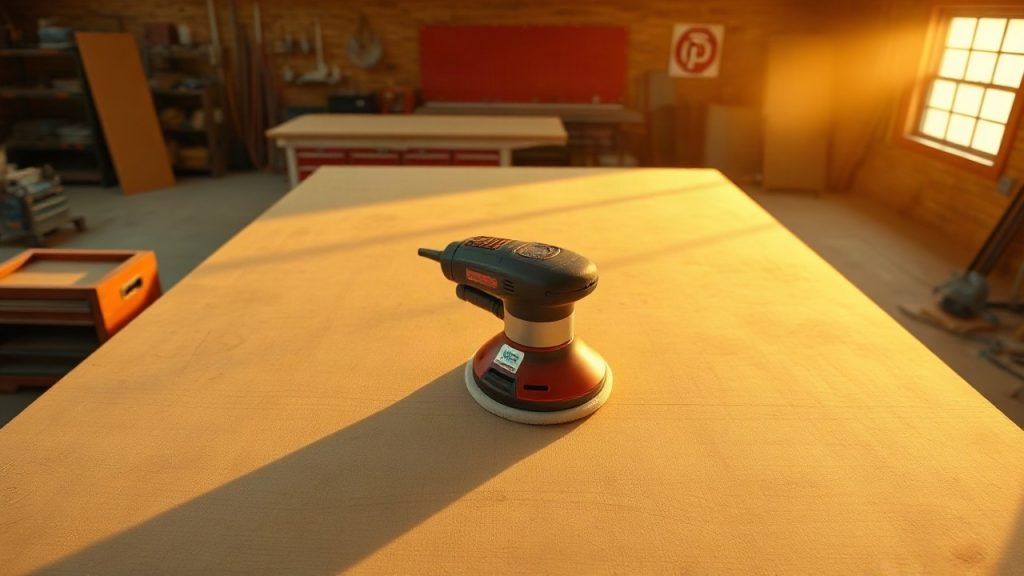
For finishing, the most commonly used tools are orbital or random-orbital sanders. Their motion combines rotation with a slight orbital oscillation, which minimises circular scratches (so-called “swirls”) and produces an even texture.
The key point at this stage is even pressure and careful visual inspection. Sanding must continue until all traces of the previous, coarser abrasive have disappeared from the surface.
Special grit requirements:
- For oil/wax: For oil- and wax-based finishes it is often not recommended to sand with an abrasive finer than P220-P240. Too smooth a surface (sanding to P320 and above) can reduce the porosity of the wood, lowering the oil’s ability to penetrate the fibres and impairing its protective properties and adhesion.
- For lacquer/enamel: If a perfectly glossy or semi-gloss finish is required, sanding can be continued to P280 or even P320. To achieve a “mirror” effect, a final polishing with special pastes is sometimes used.
Once final sanding is complete, an essential stage is inspection and dust removal. The surface must be not merely clean but perfectly clean. Any remaining fine dust, especially in the pores, can create defects in the finish, forming microscopic bumps.
Dust removal is carried out with industrial vacuum cleaners and then with special tack cloths or lint-free cloths lightly dampened with an antistatic agent. This guarantees that the surface is ready to receive the finishing coat.
Final sanding requires not only the right equipment but also high skill on the part of the craftsman. It is a meditative and precise process that directly affects the tactile feel and visual perception of the finished product.
Working with Hard-to-Reach Areas and Shaped Elements

Sanding flat surfaces with power tools is a relatively straightforward process, but a wooden product usually has complex profiles, internal corners, radii and end grain that require a special approach.
End grain (ends): The fibres on end grain are cut across, which makes them more porous and prone to absorbing moisture and finishes. When sanding end grain, an abrasive one step finer than for the main surfaces must be used to prevent excessive “fuzziness” of the fibres. In addition, end grain is more sensitive to pressure and can easily acquire rounded edges (dubbing over) unless special sanding blocks or pads are used.
Internal corners and joints: Internal corners (90 degrees) and the junctions of elements cannot be properly worked with a round sander. This is where hand tools come in:
- Sanding blocks (cork blocks) with straight edges, wrapped in sandpaper.
- Detail (delta) sanders (“irons”) – a specialised power tool with a triangular pad for working in corners.
When working in corners, it is essential not to damage the adjacent surfaces. The craftsman must make sure the edges of the abrasive leave no marks on the neighbouring plane.
Profiles, radii and curved elements: For sanding decorative milled profiles, roundovers and other shaped elements, the following are used:
- Sanding sponges and foam blocks – they follow the shape well and provide even pressure.
- Flap sanding wheels and brushes (for use on machines) – for fast and efficient work on complex profiles.
- Moulded abrasive tools – these are special blocks cast or cut to match the shape of the profile being worked.
When sanding curved surfaces, it is important to move strictly along the profile, so as not to distort its shape. Unlike flat surfaces, where the direction of movement is always along the grain, here the movement is determined by the geometry of the element.
Hand work: Despite the widespread use of power tools, hand sanding remains indispensable for the most delicate and complex areas. It allows the craftsman to fully control the process, adjusting the pressure and direction of movement. For hand work, special cloth-backed abrasives are often used, as they are more flexible and durable.
The mastery of working with hard-to-reach areas lies in achieving the same degree of smoothness and cleanliness as on the main, open surfaces. Under-sanded corners or rough profiles instantly betray amateur work once the finish is applied. This stage therefore requires not only technical skill but also a well-developed sense of touch.
Quality Control of Filling and Sanding: A Professional Audit
The surface-preparation process is not complete until it has passed a rigorous quality control. This stage reveals all hidden defects that could become critical after lacquer or oil is applied.
Professional inspection includes both visual and tactile methods, as well as the use of special techniques.
Methods of professional inspection:
- Tactile inspection: The simplest but one of the most effective methods. The craftsman runs a hand over the surface to feel the slightest irregularities, unevenness, steps or areas of raised grain. The inspection is often carried out with gloves or a thin cloth, to increase sensitivity and avoid leaving greasy marks.
- Inspection under raking light: The surface is examined at an acute angle to the light source (raking light). This method immediately reveals any irregularities invisible under direct light: “waves”, unsanded areas, circular scratches from the sander (swirls) or deep marks from a coarse abrasive.
- Test wetting (secondary grain raising): As already mentioned, for surfaces to be finished with water-based coatings, a repeated light wetting (not soaking!) makes it possible to verify that all the grain has been raised and removed. If the surface remains perfectly smooth after drying, you can proceed to the finish.
- Contrast dust check: To check the quality of dust removal (especially in the pores), you can wipe the surface with a piece of black or white cloth. The absence of dust traces on it confirms cleanliness.
- Using a guide coat (powder): Applying a special dry powder or a thin, fast-drying, contrasting-coloured guide-coat spray before the last sanding step. The guide coat fills all the micro-scratches and irregularities, making them visible. The subsequent sanding removes the guide coat from the high spots but leaves it in the scratches, clearly marking the areas that need further work.
A lack of adequate quality control means that defects which seemed invisible on the “dry” wood become starkly apparent after the first coat of lacquer or stain is applied. The coating “highlights” every flaw, making them impossible to fix without completely removing the coating and re-sanding.
In our work, quality control is always a double check. The craftsman who did the sanding carries out the initial inspection, and then the product is handed to another specialist (a quality controller or a finishing craftsman) for an independent final assessment. This eliminates subjectivity and guarantees that only a flawlessly prepared product moves on to the finishing stage.
How the Wood Species Affects the Preparation Technology
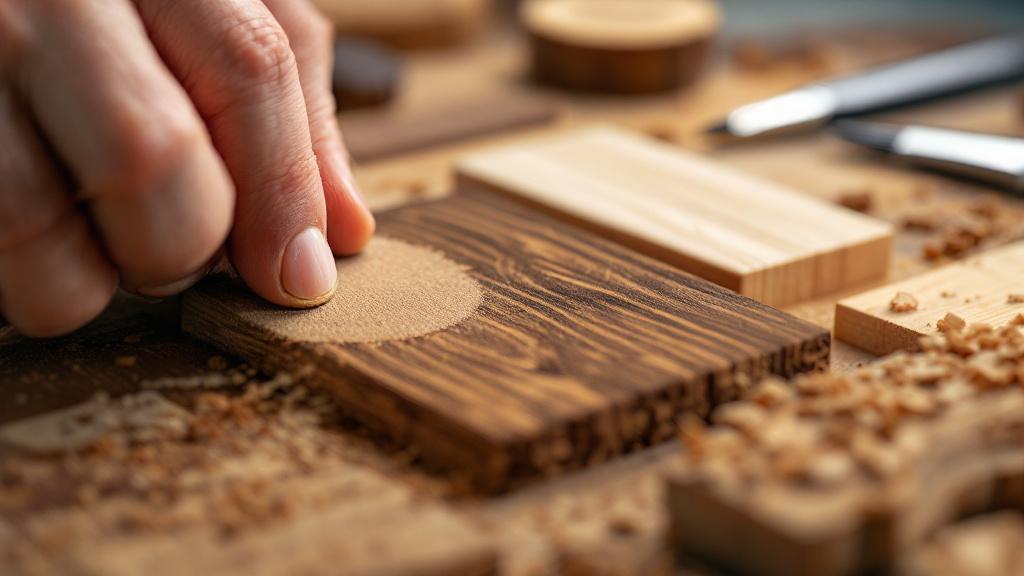
Different wood species have unique physical and mechanical properties that directly affect the choice of filler compounds, abrasive grit and the overall sanding technology. There is no universal approach, and the craftsman must adapt the process to the specific material.
Softwoods (pine, spruce, lime):
- Filling: They are prone to resin bleed (especially pine), which can reduce the adhesion of the filler. Thorough deresination is required. The fillers must be elastic enough to compensate for their high hygroscopicity (ability to absorb moisture).
- Sanding: Softwoods are easy to work but very sensitive to pressure. Excessive pressure from the sander can cause the edges to “dub over”, form dents or remove material unevenly, especially in zones of differing density. It is necessary to start with a finer abrasive (for example P100 instead of P80) and move to a final sanding of P220-P240.
Hardwoods (oak, ash, beech):
- Filling: They have a coarse, pronounced texture with open pores. To fill the pores (especially with an “open-pore” finish), special pore fillers or fillers with very fine wood dust added are often used to match the colour as closely as possible. Two-component compounds are well suited to repairing large defects because of their high strength, which matches the hardness of the material.
- Sanding: Hardwoods require a more aggressive start (P60-P80) to remove material effectively. However, they are less prone to “dubbing over” and denting. The intermediate and final stages may take longer, as removing scratches from a hard surface is more difficult.
Exotic species (wenge, rosewood, merbau):
- Filling: Many exotic species contain a large amount of oils or extractives that can impede the adhesion of standard fillers. Before application, mandatory degreasing and the use of specialised primers are often required.
- Sanding: Some of them are very hard and abrasive, which leads to rapid wear of the sandpaper. Others, such as teak, contain oils that can clog the abrasive. Sanding must be carried out with less pressure and frequent changes of consumables.
Thermally modified wood (thermo-ash, thermo-pine):
- Filling: Thermal treatment makes the wood more brittle and less hygroscopic. Fillers must be selected with its reduced absorbency in mind.
- Sanding: Thermally modified wood is generally more brittle and prone to chipping at the edges. Sanding must be gentle, with a moderate speed and minimal pressure.
Successful surface preparation requires the craftsman to master not only the sanding technique but also a deep understanding of materials science – knowledge of the density, porosity, resin content and hardness of each particular species.
Filling and Sanding Mistakes: Preventing Common Problems
During surface preparation, even experienced craftsmen can encounter problems that may undo all their efforts. Understanding and preventing these mistakes is an integral part of professional woodworking.
1. Insufficient drying of the filler:
- Problem: Applying the next layer of filler or the finish before the previous layer or patch has fully dried.
- Consequences: Shrinkage, cracks or “sink marks” in the filler that become visible after the finish has dried. Residual moisture can cause the lacquer to cloud.
- Solution: Strict control of drying time in accordance with the manufacturer’s recommendations and the workshop conditions. For deep defects, always use layered application.
2. Over-application of filler:
- Problem: An excessive amount of filler compound is applied to undamaged areas of the wood.
- Consequences: Filler has a different density and absorbency from wood. When stains or oils are applied, the filler patches show up as lighter or darker areas, disrupting the grain.
- Solution: Apply filler locally, “pressing” it into the defect, and remove the excess as a skim coat with a sharp knife.
3. Skipping grits (jumping ahead in sanding):
- Problem: Jumping from a very coarse abrasive (for example P80) straight to a very fine one (for example P220).
- Consequences: The fine abrasive cannot fully remove the deep scratches left by P80. These scratches remain and are especially visible after a gloss lacquer is applied.
- Solution: Use a sequential series of abrasives (P80 → P120 → P180 → P220), in which each successive grit removes the marks of the previous one.
4. Sanding across the grain:
- Problem: Using a coarse-grit abrasive across the wood grain.
- Consequences: Deep, visible scratches (grooves) that are almost impossible to remove without taking off a significant layer of wood.
- Solution: Sanding must always be carried out along the grain at every stage, except when working with complex profiles and curved elements, where orbital sanders or special tools are required.
5. Insufficient dust removal:
- Problem: Leaving fine dust in the pores of the wood before the finish is applied.
- Consequences: The dust mixes with the lacquer or oil, forming a rough, “sandy” surface or visible tiny bumps.
- Solution: Comprehensive dust removal: vacuuming, blowing off, and wiping with tack cloths.
6. “Dubbing over” of edges:
- Problem: Excessive or uneven pressure on the edges and corners of the product during power sanding.
- Consequences: Rounding (softening) of crisp, straight corners and edges, which reduces the aesthetic value and geometric accuracy of the product.
- Solution: Using rigid sanding blocks on the edges, reducing pressure, hand finishing, or using tools specifically designed for working on edges.
7. “Swirls” from the random-orbital sander:
- Problem: Stopping or holding the running random-orbital sander in one spot for too long.
- Consequences: The formation of circular marks (swirls) that easily show through the finish.
- Solution: The tool must always be kept moving, in smooth, even passes.
Preventing these mistakes requires not only knowledge but also discipline in the work. Every stage, from assessment to the final dust removal, must be carried out with the utmost thoroughness, which is the foundation of our professional approach to making wooden products.