The Perfect Finish: How to Professionally Prepare a Wooden Surface for Painting
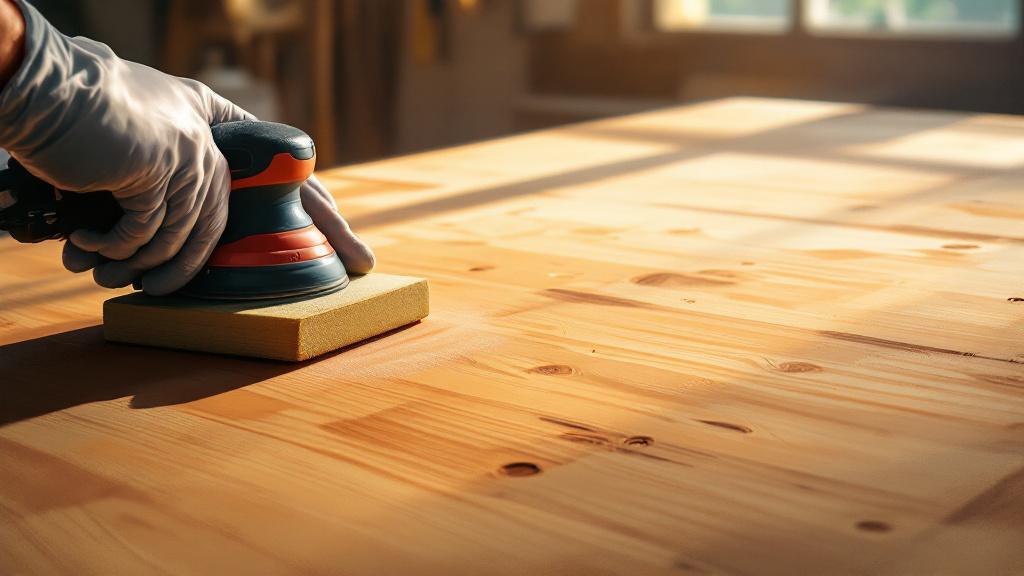
A quality paint job on a wooden product is not just the final touch — it is the guarantee of its durability, its resistance to external factors and, of course, its aesthetic appeal. Yet even the most expensive, highest-quality paint cannot live up to its potential if the substrate it is applied to has not been properly prepared. In professional woodworking and in the manufacture of exclusive products, we are firmly convinced: the perfect result begins long before the brush ever touches the surface.
Preparing a wooden surface for its finishing coat is a complex, multi-stage process that demands attention to detail, an understanding of the properties of wood and strict adherence to the correct techniques. It is a critical stage that directly affects the adhesion of the paint to the wood, the evenness of the coating, its wear resistance and the overall service life of the product. Skipping any of the preparation steps will inevitably lead to defects: flaking, cracking, uneven absorption or the grain showing through in unwanted places.
In this detailed article, drawing on our company’s many years of experience in manufacturing high-quality wooden products, we break down every stage of preparation — from the initial inspection to the final dust removal. We provide a step-by-step guide that will help you create the perfect base for any coating material, ensuring that your products look flawless for many years to come. This information will be useful both to our craftsmen and to clients who want to understand what a high-quality finish is really made of.
Initial Assessment of the Wood’s Condition and Moisture Content
The first and most important step in the preparation process is a thorough analysis of the raw material. Understanding the condition of the wood and its characteristics determines the entire subsequent treatment strategy. You cannot begin mechanical or chemical preparation without accurate data about the material.
Identifying the Species and Type of Material
Every species of wood — whether soft pine, hard oak or exotic teak — has its own unique density, pore structure and content of resins and tannins. These factors directly affect absorbency, the need for priming and potential problems (such as resin bleed). It is essential to clearly determine the species and the type of raw material: is it solid timber, a glued panel, plywood or veneer? This information is crucial for choosing the right chemicals and abrasive grits.
Moisture Control: A Critical Parameter
The moisture content of the wood is a key factor that cannot be ignored. The wood must be brought to its in-service moisture content, which is usually 8–12% for furniture and interior products and 12–18% for outdoor structures, depending on the climate zone. Using an electronic moisture meter is mandatory. Painting wood that is too damp will cause blistering under the coating, flaking and subsequent cracking, because the moisture, as it evaporates, will try to escape to the surface. A mismatch in moisture content is the main cause of defects in the finishing coat.
Detecting and Stabilising Defects
Carry out a careful visual and tactile inspection of the entire surface. You need to identify all potential defects that could appear after painting. These include knots (live or loose), cracks, chips, tool marks (dents, cutter scratches), old traces of glue or filler, as well as areas affected by fungus or blue stain. Each of these areas calls for an individual approach: some need to be removed, others stabilised or filled.
Assessing the Degree of Contamination and Any Previous Coating (if applicable)
If the product is not new but is to be restored or repainted, it is necessary to determine the type of previous coating (lacquer, oil, paint) and the degree of its wear. The presence of grease, oil, wax or silicone calls for specialised cleaners, as these contaminants categorically prevent the new coating from adhering. Applying new paint over an incompatible old coating will lead to its failure.
Temperature Conditions and the Workshop Environment
The assessment must also include the surrounding conditions. The ideal air and surface temperature for painting and preparation is in the range of +18°C to +25°C, at a relative air humidity of 50–70%. These conditions must be stable. The surface of the wood should be at room temperature. If the product has been in a cold store, it needs time to “acclimatise” in the workshop so that its moisture and temperature stabilise.
Defining the Required Finish
Before beginning preparation, you need to know exactly what finish is expected: will it be an opaque paint, a semi-transparent glaze that preserves the grain, or a tinted finish followed by lacquering? The preparation requirements for these three scenarios differ radically. For opaque painting, for example, more aggressive fillers and slightly less fine sanding are acceptable, whereas a clear lacquer requires meticulous, jeweller-level preparation that hides any trace of repair or sanding.
Setting Out a Plan of Action
On the basis of this assessment, a detailed technical plan is drawn up. It includes the choice of cleaning chemicals, the selection of abrasive grits for each stage and the choice of filler and primer. This plan guarantees a consistent sequence of steps and rules out skipping any critical stage. A professional approach always begins with planning, not with random sanding.
Removing Old Coatings and Deep Cleaning
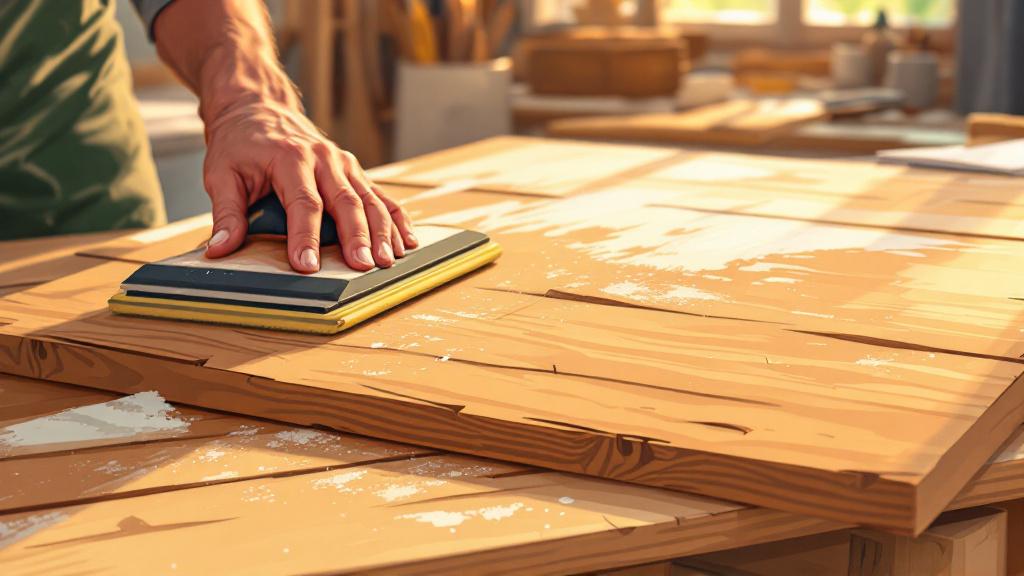
If the product already had a finishing coat, its complete and thorough removal is an absolutely essential condition for achieving the perfect result when repainting. Residues of old paint or lacquer are incompatible with new materials, which will inevitably lead to cracking and flaking of the new layer.
Choosing the Method of Coating Removal
There are three main methods of removing old coatings: chemical, thermal and mechanical. The choice of method depends on the type of old coating, the species of wood and the shape of the product.
- Chemical: Special strippers are used to soften the old paint or lacquer. This method is effective for complex contoured surfaces and corners. It requires the strictest observance of safety precautions and the careful removal of stripper residue, as this can adversely affect the new coating material.
- Thermal: A heat gun is used to warm and soften the coating, which is then removed with a scraper. Suitable for thick layers of oil paint. Care is needed not to scorch the wood, which could change its colour and structure.
- Mechanical: Sanding or scraping. The most common method, but it must be controlled. You should start with aggressive abrasives (P40–P60) for rapid material removal, but you must then move on to finer grits to remove the deep scratches.
Deep Cleaning of Contaminants
After removing the main coating, you need to get rid of all deep-seated contaminants such as grease, oil, silicone, wax or glue residue. As they penetrate the pores of the wood, these substances create a barrier to adhesion. For this, specialised solvents, degreasers or white spirit are used, applied with a clean rag. It is important to keep working until the rag no longer picks up any contamination.
Dealing with Tannins and Resin
When working with softwoods (pine, spruce) or wood high in tannins (oak, cherry), there is a risk of them bleeding through light-coloured coatings. Resin must be removed from the surface with a cleaner or a special turpentine. For tannin-rich species (especially if a light-coloured paint is planned), it is advisable to use isolating primers that “seal” the tannins, preventing their migration and the appearance of yellow or brown stains in the finishing coat.
Removing Blue Stain and Mould
If signs of biological damage (blue stain, mould) are found on the surface, simple sanding may not be enough, since the fungus penetrates deep into the structure. The affected areas must be treated with specialised wood antiseptic compounds. After treatment, the surface must be thoroughly rinsed and dried. If the damage is too deep, part of the wood may have to be removed or the material rejected, since the antiseptic can affect adhesion.
Neutralising and Rinsing
After using chemical strippers or aggressive cleaners (including anti-blue-stain products), the surface must be thoroughly neutralised if the manufacturer’s instructions require it, and then rinsed. Residual chemicals can react with the new paint. Rinsing is done with clean water (or a specialised solvent specified in the instructions), followed by thorough drying.
Checking Cleanliness After Cleaning
After all cleaning procedures, a cleanliness test must be carried out. The surface should be dry, uniform in colour (except, perhaps, for traces of antiseptic) and free of any greasy or sticky residue that can be felt by touch. If the absorbency appears uneven, this may indicate remaining contaminants.
Isolating Metal Elements
Before starting sanding or applying chemicals, you must isolate or, where possible, remove all metal elements (hinges, nails, staples). Metal corrosion can leave hard-to-remove black or blue stains on the wood (especially when reacting with tannins), which will show through a light-coloured paint.
Repairing and Correcting Surface Defects
After cleaning and removing old coatings comes the stage of spot repair and correction of structural defects in the wood. The main goal of this stage is to achieve the most uniform, smooth surface possible, on which the paint will lie in an even layer.
Filling Cracks and Recesses
A special wood filler is used to fill small cracks, chips, dents and marks left by nails or screws. It is important to choose a filler that is compatible with the future coating material and has minimal shrinkage.
- For opaque painting: Two-component polyester or acrylic fillers are used; they are highly durable and dry quickly. The colour of the filler is not critical, but it must be easy to sand.
- For clear or glaze coatings: Fillers based on wood dust mixed with glue or a specialised binder are used, matched as closely as possible to the colour of the wood itself. Filling should be done only where needed, to minimise its visibility.
Dealing with Knots and Resin Pockets
Live knots and resin pockets can cause serious problems. Resin pockets must be opened up and thoroughly cleaned of resin with solvent. Large, loose or falling-out knots are best removed entirely and replaced with an insert of the same material (a plug), or filled with epoxy resin — especially if the product will be used in conditions of fluctuating temperature or humidity. After cleaning and before painting, it is advisable to coat the knots with an isolating varnish or a special primer for resinous wood.
Removing Traces of Machining
You must make sure the surface is free of deep marks left by tools (cutter scratches, band-saw marks, scraper marks). These marks may be invisible before painting, but after the finishing coat is applied they will show up especially clearly, particularly under raking light. Such defects are removed by local sanding, starting with a grit that removes them effectively (for example P80 or P100), and moving on without fail to finer grits.
Inserts (Patches)
If a defect is too large to be filled (for example, a large chip or hole), the insert method is used. A piece of wood of the same species is cut out, precisely fitted to size and grain direction, and glued into place over the defect. Using glue with minimal moisture content and strong clamping ensures a durable repair. After the glue has dried, the repair area is sanded until it matches the main surface exactly.
Curing and Drying of Repair Materials
After applying filler, an insert or any other repair compound, you must strictly observe the full curing time specified by the manufacturer. Premature sanding or painting over under-cured material will lead to shrinkage, cracking or poor adhesion of the finishing coat to the repaired area.
Local Sanding After Repair
Once fully dry, the filler material is worked. First, an abrasive is used that quickly levels the material down to the main surface (often P100–P120), and then the grit is progressively increased to remove the scratches left by the first sanding. The repaired zone must be absolutely smooth and imperceptible to the touch.
Rough Sanding: Removing the Major Irregularities
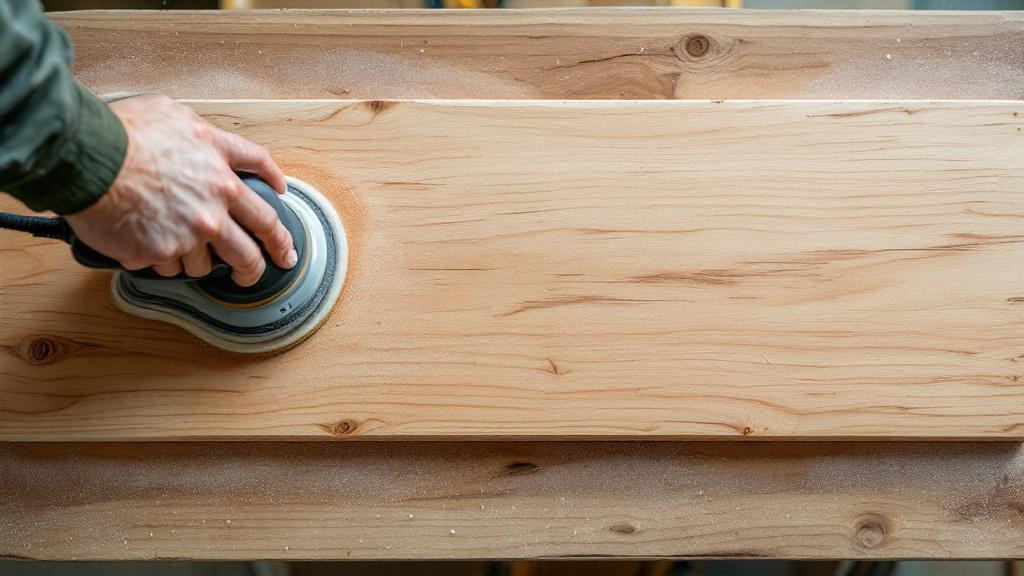
Sanding is perhaps the most important mechanical stage of preparation. Rough sanding is the first step in creating a perfectly flat plane and removing the most noticeable surface defects that could not be dealt with chemically or by spot repair.
The Purpose of Rough Sanding
The main goal of rough sanding is to level the surface, to remove traces of initial machining (planing, milling), small differences in height between glued elements, and any remnants of old coatings not removed in the previous stages. This is the stage where the geometry is formed.
Choosing the Starting Grit
The choice of starting grit depends on the initial condition of the surface.
- For a very uneven, rough or old surface with paint residue: Start with P40 or P60. This aggressive grit removes material quickly and levels out significant differences.
- For a clean but unfinished surface after planing: it is best to start with P80. This quickly removes knife marks and prepares the surface for finer work. You must always use a quality abrasive with an even grain distribution to avoid deep, uncontrolled scratches.
Technique and Equipment for Rough Sanding
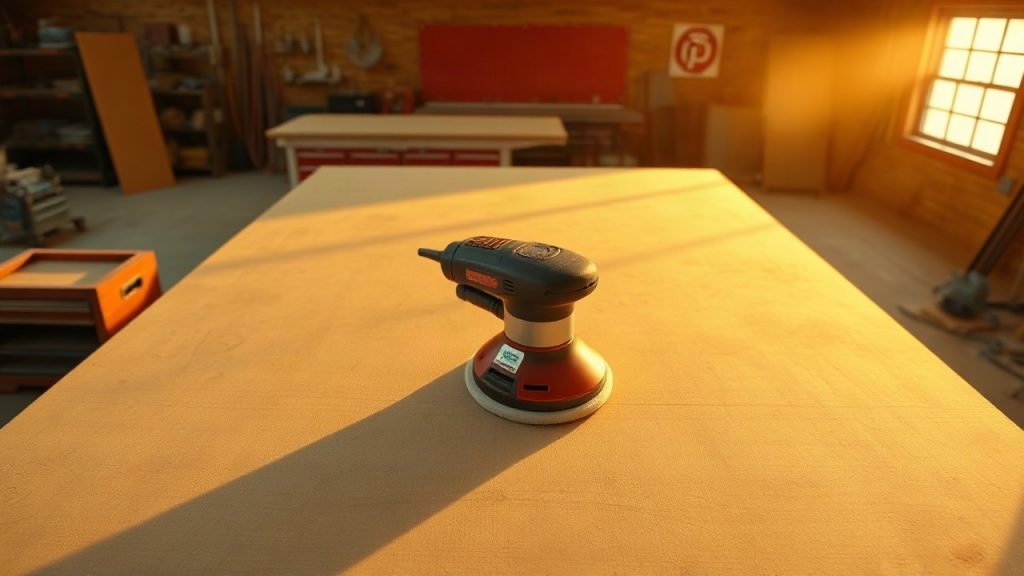
For large flat surfaces, belt sanders or orbital sanders are used. It is important to keep the tool moving constantly and evenly, without lingering in one spot, to avoid creating hollows or “waves”. Sanding must be carried out strictly along the grain. Sanding across the grain will leave deep, irreparable scratches that are sure to show up after tinting or lacquering.
Checking and Removing Scratches
After rough sanding is complete, the surface will have distinct scratches, but they should be uniform and run strictly along the grain. Before moving on to the next stage (medium sanding), it is critically important to make sure that the scratches from the previous, coarser abrasive have been completely removed. This is checked visually under good lighting, as well as by touch.
The Sequence of Abrasives (Grit Progression)
A correct transition between grits is the key to quality preparation. The difference between two consecutive grits must not be too large, so that each grit can fully remove the scratches left by the previous one. The professional standard is that each successive grit should be roughly 1.5 times finer than the previous one.
- An approximate sequence: P60-P100-P150-P220.
Dust Removal After Rough Sanding
After the rough sanding stage is complete, the surface must be thoroughly cleaned of dust. Coarse wood dust left on the surface can mix with the next, finer abrasive, turning it into a coarser material and leaving unwanted scratches. Industrial vacuum cleaners and compressed air are used.
Medium Sanding: Preparing for Tinting
Medium sanding is a transitional stage in which we remove the deep scratches left by rough working and begin to “open up” the pores of the wood, preparing it for the even absorption of tinting compounds or primers.
The Goal and Choice of Grit
The main goal of medium sanding is to make the surface uniform and prepare it for the next steps. At this stage, abrasives with a grit of P100 to P180 are used, depending on the species of wood and the required finish.
- For softwoods (pine, spruce): It is advisable not to go beyond P150, as finer sanding can “burnish” the pores and reduce absorbency.
- For hardwoods (oak, ash): You can go up to P180 to achieve a smoother surface while still preserving the pore structure.
Removing Marks from the Previous Grit
The key point of medium sanding is the 100% removal of all marks (scratches) from the coarse abrasive (for example P80). If these scratches remain, they will show up when stain or tinting lacquer is applied, as dark, uneven streaks. To monitor this process, you can lightly moisten the surface with clean water — this imitates the application of a tinting compound and makes any remaining scratches more visible.
Sanding Along the Grain
An absolute rule: sanding must be carried out exclusively along the direction of the grain. Using random-orbit or orbital sanders calls for special attention, as their rotary motion can leave characteristic “patterns” that will also show up under tinting. On flat surfaces it is preferable to use orbital sanders or hand blocks.
Working with Profiled Elements and Edges
For profiled and moulded elements, roundovers and edges, hand sanding with sanding sponges or blocks must be used. This prevents “rounding over” of corners and edges, preserving the crispness of the product’s geometry, which is critical for high-quality products. The abrasive used should match the one used on the main surface.
Avoiding “Sanding Blend Marks”
Avoid excessive pressure on the sander, especially at edges and corners. Excessive pressure can remove too much material, creating “blend marks” or rounding off sharp edges. The surface must remain geometrically precise.
Preliminary Dust Removal
After medium sanding is complete, the surface must be de-dusted. Dust from P120–P180 is much finer than from P60 and more prone to clinging. Use a vacuum cleaner and, if necessary, a gentle blast of compressed air to remove dust from the pores.
Preparing for Tinting (if required)
If tinting (staining) is planned next, you must carry out grain raising (see the next section). If no tinting is planned, the surface is considered ready for fine sanding.
Grain Raising and Its Removal

Grain raising is a natural physical process that occurs when water or water-based solutions (for example a water-based stain or primer) come into contact with the wood. The wood fibres swell and rise, making the surface rough. If this stage is skipped, then after the first coat of water-based coating is applied, the surface will become rough.
The Mechanism and Need for Grain Raising
Wood consists of cellulose fibres which, having been cut during sanding, remain only partly anchored. Moisture causes these fibres to swell and stand on end. If this happens under the first coat of paint or primer, the finishing coat will be uneven and rough. Professional preparation requires that this process be deliberately triggered before the finishing coat is applied.
The Artificial Wetting Process
After medium sanding (P150–P180), the surface is evenly moistened with clean water using a spray bottle or a damp sponge. There should be enough water to cause swelling, but not so much as to soak the wood. Use distilled or demineralised water to avoid the formation of salt stains.
Drying After Wetting
The surface must be allowed to dry completely. Drying should take place under normal workshop conditions (temperature +20°C, humidity 50–70%) without strong forced heating, which can cause cracking or warping. Drying time may be from 2 to 4 hours, depending on the species and the amount of water applied. The raised grain will feel like a light but noticeable roughness.
Repeat (Fine) Sanding of the Grain
Once fully dry, the surface is sanded again, but now with a very fine abrasive — P220 or P240. The aim of this operation is to shear off only the raised grain, without cutting into the body of the wood or creating new, deeper scratches.
- The sanding should be light, without heavy pressure, done strictly by hand or with an orbital sander at minimum speed.
- It is extremely important to use a very fine-grit abrasive so as not to damage the already prepared pore structure.
Assessing the Result
After sanding the grain, the surface should become perfectly smooth. To the touch it should feel like glass. If the surface still seems slightly rough, this may mean either insufficient drying or that the process needs to be repeated — though this is rare when done correctly.
An Important Exception
If non-water-based materials are used for tinting (for example solvent- or oil-based stains), the grain-raising procedure may be skipped, as these compounds do not cause significant swelling of the fibres. However, for most modern water-thinnable coatings this stage is mandatory.
Finish (Fine) Sanding and Choosing the Final Grit
Finish sanding is the last mechanical stage before the coating is applied. Its purpose is to bring the surface to perfect smoothness, completely remove all micro-scratches from the previous stages and ensure the optimal structure for adhesion.
Determining the Final Grit
The choice of the finest abrasive (the final grit) depends on the type of finishing coat:
- For oil or wax finishes: The final grit is usually P180–P220. Finer sanding (for example P320 and above) can “burnish” the pores, which impairs the absorption of the oil, so that it lies in uneven patches or dries poorly.
- For clear and opaque lacquers and paints (PU, acrylic, water-based): A grit of P220–P240is used. This provides the maximum smoothness needed for a perfect reflection of light and an even distribution of pigment, while retaining enough structure for good mechanical adhesion.
- Exception (high gloss): To achieve an exceptionally high gloss, abrasives up to P320 or even P400 may be needed, but this requires specific equipment and particular skill to avoid “burnishing”.
Fine Sanding Technique
Fine sanding is done with light strokes and minimal pressure. At this stage any mistake — tilting the tool or uneven pressure — can leave a visible defect. On flat surfaces, orbital or random-orbit sanders with an orbital motion are used, while corners and profiles are done only by hand.
Surface Quality Control
Inspection must be as thorough as possible:
- Visual inspection: Carried out at a sharp angle to the surface and under bright raking light. Any remaining scratches or marks will be visible as thin, bright lines.
- Tactile inspection: The surface must feel absolutely smooth and even. Any roughness or unevenness that the hand can feel will be magnified many times over by the finishing coat.
Removing Swirl Marks
Even when using quality random-orbit sanders, characteristic circular marks may remain on the surface, especially noticeable on hardwoods. To remove them, it is recommended to make a final pass by hand after machine work, using the same abrasive and moving strictly along the grain. This ensures the complete removal of all unwanted scratches and is the standard for a high-quality finish.
Final Cleaning and Dust Removal
Finish sanding produces very fine, airborne dust. It must be completely removed before priming or painting.
The dust-removal procedure:
- Vacuum: Remove the bulk of the dust with an industrial vacuum cleaner and a brush attachment.
- Compressed air: Blow out all pores, corners, grooves and hard-to-reach spots with compressed air (if this is possible and does not stir up dust in the workshop).
- Tack cloths (sticky cloths): A mandatory finish to the process. Special tack cloths are used to pick up the tiniest dust particles that could not be removed by vacuum or air. This stage is critically important, as any remaining speck of dust will create a bump under the first coat of coating.
Using Primers and Sealers

Priming is not just an extra layer but a technological bridge between the wood and the finishing coat. A properly chosen primer solves a whole range of problems, from isolation to improved adhesion.
The Functions of the Primer Coat
A primer performs several key functions:
- Isolation: It seals the pores and prevents the bleeding of resins, tannins and other extractive substances from the wood that could cause discolouration of the finishing coat (especially in light shades).
- Evening out absorbency: Wood, especially of non-uniform species, can absorb paint differently. The primer creates a uniform, even base, ensuring that the finishing coat lies evenly, without patches.
- Improving adhesion: Primers are designed for maximum bonding both to the wood and to the subsequent coating, preventing flaking and cracking.
- Economising on the finishing coat: By filling the pores, the primer significantly reduces the consumption of expensive finishing paint or lacquer.
Choosing the Type of Primer
The type of primer must be strictly compatible with the finishing coat.
- For acrylic (water-based) paints: Water-based acrylic primers are used.
- For polyurethane (PU) or nitrocellulose (NC) lacquers/paints: The corresponding PU or NC primers are used.
- Specialised primers: For greasy or resinous species, isolating shellac primers or two-component compounds with a high solids content are used.
Applying and Drying the Primer
The primer is applied according to the manufacturer’s instructions — by brush, roller or spray. Application must be even. The specified between-coat drying time must be strictly observed. An under-cured primer can be the cause of defects and poor adhesion to the finishing coat.
Sanding the Primer Coat (Intermediate Sanding)
The primer coat, even after drying, is often not perfectly smooth. In addition, it can raise residual fine grain. To achieve a perfect surface, a light intermediate sanding of the primer must be carried out.
- A very fine abrasive is used — P280–P400.
- The sanding must be extremely light and even, only to remove the grain and level the coat. You must not rub the primer through to the wood, as this would break the isolating layer.
Dust Removal and Creating Ideal Conditions for Painting
The quality of the finishing coat is directly proportional to the cleanliness of the environment in which it is applied. Effective dust removal and climate control is a mandatory standard for a professional spray booth.
Final Dust Removal from the Surface
This is the very last and most important stage before the finishing coat is applied. The surface must be absolutely free of dust, grease and other micro-contaminants.
- Blowing off: If possible, blow the product down once more with compressed air, paying particular attention to corners, grooves and uneven areas where dust may collect.
- Tack cloths: A mandatory step. Use new, clean tack cloths to wipe down the entire surface of the product immediately before painting begins. The movements should be light so that the cloth leaves no marks. If the cloth becomes dirty, it must be replaced.
Preparing the Spray Booth or Area
Dust in the air is the main enemy of a perfect coating.
- Wet cleaning: Before work begins, carry out wet cleaning of the floor, walls and all equipment in the painting area so that any airborne dust settles.
- Ventilation and filtration: The spray booth’s ventilation system must filter the incoming air to prevent dust from entering from outside. Extraction ventilation must be switched on to draw off fumes and excess aerosol, but its operation must not create draughts that stir up dust.
- Work clothing: Personnel doing the painting must wear clean, lint-free clothing or overalls to prevent fibres and dust being transferred onto the surface.
Controlling Temperature and Humidity
The spray booth must maintain stable conditions as recommended by the coating manufacturer:
- Temperature: Usually from +20°C to +25°C. Too low a temperature slows drying and can impair the flow of the paint. Too high can cause the paint to dry too quickly (“set”) and produce orange peel.
- Humidity: Relative humidity should be in the range of 50–70%. High humidity slows the drying of water-based coatings. Low humidity can cause the solvent to evaporate too fast and produce defects.
Final Inspection
Immediately before beginning to apply paint or lacquer, the craftsman should carry out a final tactile inspection. Run your hand over the entire surface. If even the slightest roughness or speck of dust can be felt, this defect must be dealt with immediately by fine sanding and repeated dust removal. This stage takes just a few minutes but guarantees the quality of many hours of work.
Applying the First Coat and Between-Coat Treatment

Even perfect preparation can be ruined by incorrect application of the first coat. The first coat (primer-enamel or the first coat of lacquer) is decisive for the overall result.
Application Technique and Coat Thickness
- Evenness: The first coat must be applied as evenly as possible, without runs or missed spots. If spraying is used (the standard for professional finishing), a constant distance and speed of the gun must be maintained.
- Thickness: An excessively thick first coat can lead to internal stress, poor drying, blistering and subsequent cracking. Apply the material in accordance with the manufacturer’s recommendations for wet film thickness.
- Direction: If a brush or roller is used (rare in professional work), the finishing stroke should be strictly along the grain to minimise visible tool marks.
Drying and Curing Time
Strict observance of the drying time specified in the coating’s technical data sheet is critically important. This is not only the touch-dry time but also the full curing time needed for subsequent between-coat sanding. Trying to speed up the process can “lock in” solvents or moisture inside the coat, which will cause defects.
Between-Coat Sanding (Denibbing)
After the first coat (primer-enamel or lacquer) has dried, the surface almost always requires between-coat sanding, also known as denibbing.
- Purpose: To remove dust and minor defects that may have settled on the wet coat, as well as grain raised after the first contact with moisture (if a water-based coating was used). In addition, sanding gives the surface the micro-roughness needed for perfect mechanical bonding with the second (finishing) coat (improved adhesion).
- Grit: A very fine abrasive is used — P320–P400.
- Technique: The sanding must be light and even, using sanding sponges or fine abrasives on hand blocks. The aim is to create a matt, uniform surface with no glossy missed spots. You must not rub the coat through to the wood or to the previous primer.
Dust Removal After Between-Coat Sanding
After denibbing, the surface must once again be thoroughly de-dusted, as described in section 9:
- Vacuum.
- Compressed air (with care).
- Mandatory use of a tack cloth.
Applying the Finishing Coat
After denibbing and dust removal, the finishing coat (or several finishing coats) is applied. Thanks to the perfectly prepared, matt base, the finishing coat will lie as evenly as possible, reveal its full opacity and depth of colour, and deliver the wear resistance stated by the manufacturer.
Conclusion
Preparing a wooden surface for painting is a labour-intensive and technologically complex process which, nevertheless, is the only path to a truly high-quality, durable finishing coat. As professional manufacturers of wooden products, we cannot allow ourselves to skip or simplify these stages.
The key principles of perfect preparation that we always observe:
- Moisture control: Beginning work only with wood at its in-service moisture content.
- The sequence of abrasives: Always following the correct grit progression (for example P80-P120-P180-P240).
- Dust removal: Thorough removal of dust after each stage, especially before applying any coat.
A perfectly smooth, even and durable coating is the result of our commitment to strict technological standards and attention to the smallest details, from the very first inspection to the final polish.