How finishing OSB boards affects their performance
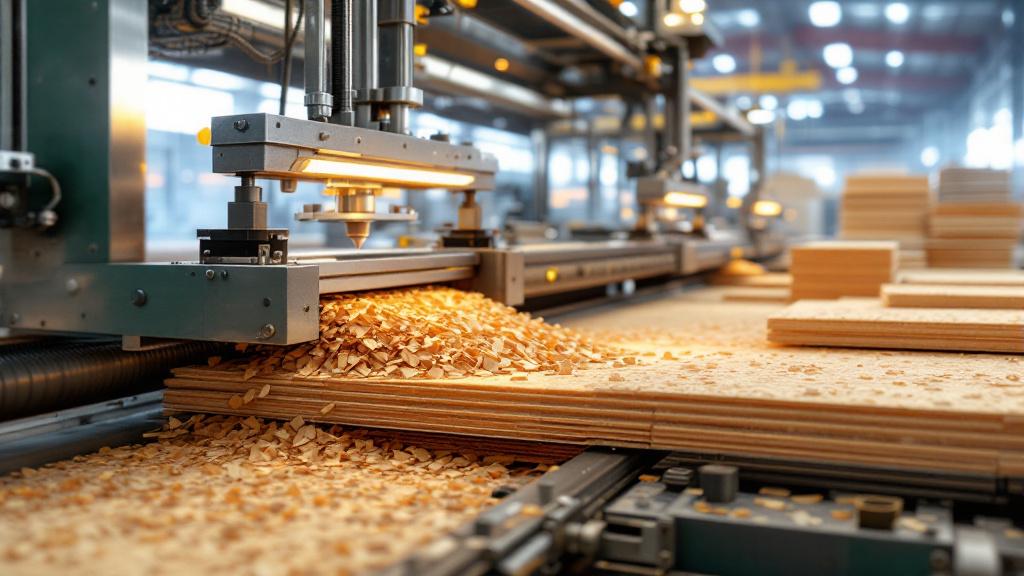
When it comes to modern materials for making wooden products, OSB board is hard to overlook. This material has long held a firm and lasting place in construction and woodworking, edging out many other options thanks to its availability, strength and versatility. In our workshop, as at many other production sites, OSB is used both for practical tasks and for aesthetic ones — from flooring substrates to decorative panels and furniture structures.
But here is the catch: despite its outward reliability and solid feel, OSB is a material that calls for careful, skilful finishing. Simply taking a board, cutting off the piece you need and assembling a product from it is not enough. Without preparation the material can warp, delaminate, and lose strength and appearance. It is precisely how well an OSB board is finished that determines the service life of the product, its appearance and its resistance to external influences.
OSB (Oriented Strand Board) is a panel made by bonding wood strands oriented in several directions using thermosetting resins under high pressure. This technology delivers good strength, but it does not make the board invulnerable. And while on a building site it can simply be coated with varnish or paint, in the making of wooden products, especially decorative ones — and all the more so in furniture manufacturing — OSB finishing has to be approached professionally and step by step.
In this article we will break down what stages OSB finishing involves, how each of them affects performance, and why skimping on finishing means putting the whole product at risk.
Why OSB requires finishing
An OSB board is, in essence, pressed wood strands. It is bonded with strong resins but, despite its apparent density, it has a porous structure, particularly at the ends and edges. These are precisely the areas most vulnerable to moisture, fungi and mechanical damage. It shows up especially quickly in products used in an unstable environment — under temperature swings, in high humidity, or under load.
Here is what happens to unprotected OSB over long-term use:
- The ends start to delaminate. Under the action of moisture and dry-swell cycles the board edges swell, begin to crumble, and chips and cracks appear.
- Fungus and mould develop. Especially in rooms with poor ventilation or high humidity — bathrooms, balconies, cold hallways.
- The material loses strength. Even the strongest OSB loses its load-bearing capacity on contact with moisture when left untreated. That is critical if the board is used as a load-bearing part of furniture or flooring.
- The appearance deteriorates. Untreated, the board looks untidy, with visible marks from glue and resin, dust and unevenness. On top of that, paint and varnish sit poorly without preparation and flake off over time.
Finishing is not a decorative procedure but a necessary technological stage that helps the material perform at its very best.
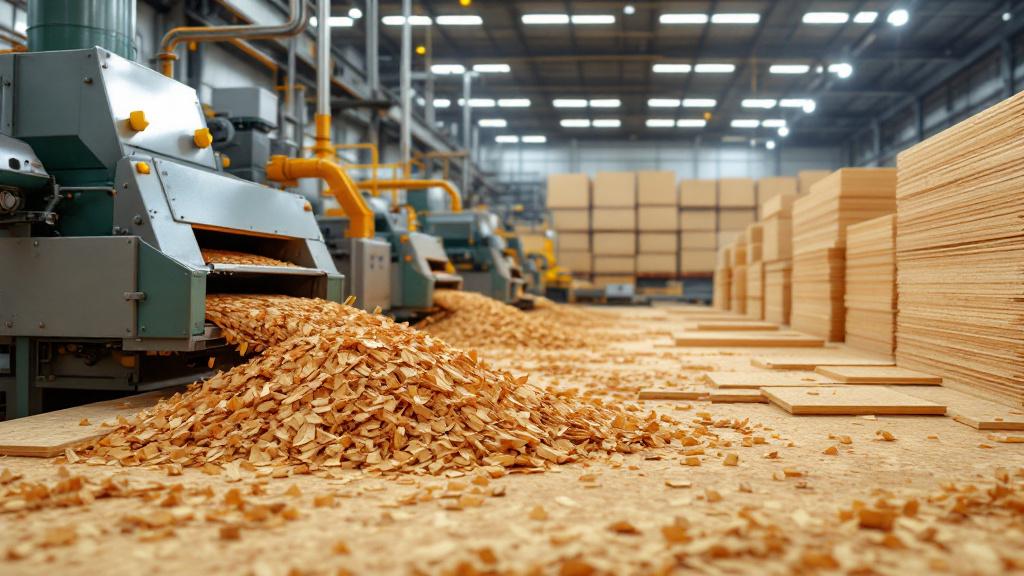
The main goals of finishing OSB boards
When we finish OSB in the workshop, we are not just improving the appearance. Finishing is aimed at fundamental improvements to the board’s properties:
- Increased moisture resistance. Especially important if the board is used in rooms with high humidity or variable conditions (for example country kitchens, hallways, workshops).
- Greater strength and resistance to mechanical damage. Finishing reinforces the edges and ends and reduces the risk of chips and cracks.
- Creating a protective barrier against fungus, mould and pests. Especially important when used in enclosed, poorly ventilated spaces or during long-term storage.
- Improved adhesion. Paint, varnish, wood stain, glue — everything holds better on a finished surface.
- Enhanced aesthetics. A primed, sanded and varnished board can look like a fine wood material.
- Extended service life. Properly finished OSB can last for decades, especially in furniture and interiors.
Stages of finishing OSB boards
Now let us go through all the stages that a full OSB finish involves within woodworking and product manufacturing.
1. Sanding the surface
The first thing the work starts with is sanding. Even though OSB looks flat, its surface is often covered with small irregularities, chips and sometimes protruding strands. This is especially noticeable when working with cheaper grade 2–3 boards.
Sanding lets you:
- remove sharp protruding strand fragments that could snag or cause injury;
- level the surface, making it suitable for applying primer, varnish or paint;
- open up the pores of the material so that impregnations and primers soak in evenly;
- remove dirt, dust, glue residue or factory chemicals.
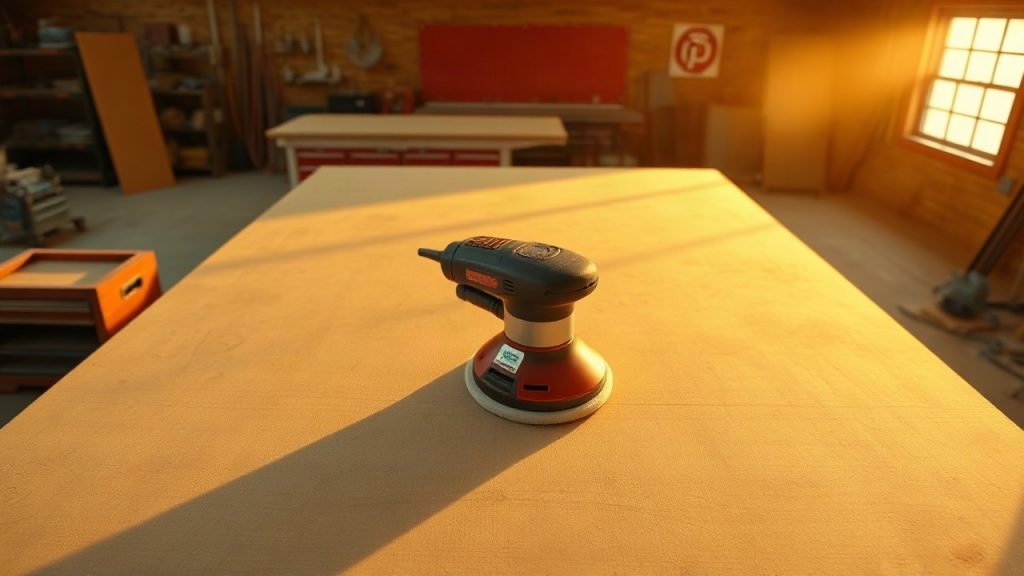
We usually use a random-orbital or belt sander. We start with 80-grit sandpaper and finish at 120–150 if a perfectly smooth surface is required. For decorative panels — even up to 180.
Important: sanding is carried out before any coatings are applied. Afterwards, be sure to vacuum the surface and wipe it with a slightly damp cloth to remove the finest dust.
2. Priming the surface
The next stage is priming. And it is critically important. OSB, as already noted, is porous, and without priming it absorbs paint and impregnation unevenly. In addition, primer protects the board from within, creating an initial hydrophobic barrier.
Depending on the task, we use different types of primer:
- Acrylic primers — for interior work. They dry quickly, have no harsh smell and are environmentally friendly.
- Alkyd primers — they form a denser film and give better protection against moisture, but they dry longer and smell stronger.
- Epoxy primers — used where a durable coating is needed, for example for floors or under heavy loads.
Particular attention is paid to the ends and edges. These areas are treated by hand or with a brush, often in two or three coats, because it is through them that moisture penetrates fastest. Sometimes, for reinforced protection, the ends are coated with acrylic- or polyurethane-based sealing compounds.
3. Impregnation and moisture protection
After priming it is the turn of protective hydrophobic impregnations. These are compounds that penetrate deep into the wood, altering its structure and making it less susceptible to moisture. Impregnations come in different types:
- Water-based — environmentally friendly, quick-drying, but they require good sanding and several coats.
- Oil-based — they penetrate deeply, are suitable for outdoor products, and take longer to dry.
Impregnations are especially important if the board will be used in conditions of variable humidity. Even for ordinary bathroom shelves, without this protection the service life can be cut several times over.
Impregnation can be applied by brush, roller, spraying or immersion (if the product is not yet assembled). The key is to keep the coating even and leave no unprotected areas.
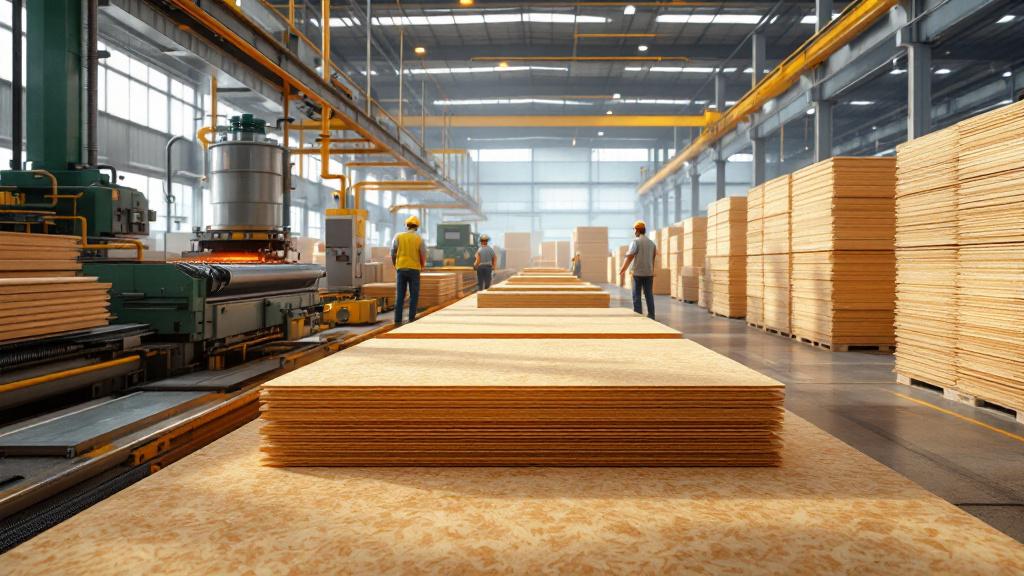
Finishing OSB: from function to aesthetics
Once the main protective layers are already applied — the board sanded, primed and treated with moisture-protective compounds — it is time for the final finish. This stage directly affects not only the product’s appearance but also its resistance to abrasion, dirt and mechanical damage.
Painting OSB: nuances and approaches
OSB is not always easy to paint. This is especially true when the aim is to create a decorative or aesthetically appealing surface. Without prior preparation, paint may go on patchy and streaky and flake off over time.
The basic principles of painting OSB:
- Priming before painting is a must. It is advisable to use adhesion primers with high absorbency.
- Choosing the type of paint according to the operating conditions. For interiors, acrylic, latex or water-based compounds are suitable. For outdoor products — alkyd or oil-based ones.
- Applying in several coats. The first coat of paint may be partly absorbed, so at least two coats are always required, sometimes three.
Some craftsmen add a decorative effect by combining painting with patination, texturing or the application of semi-transparent varnishes that emphasise the strand texture.
Varnishing: protection and aesthetics
Varnishing OSB is not mere embellishment. A good varnish creates a durable, wear-resistant surface that protects the board from dirt, moisture, abrasion and fading.
OSB is varnished especially often in the following cases:
- when making furniture and shelving;
- when creating decorative wall panels;
- for flooring, platforms and worktops, where strength matters.
The best performers have proven to be polyurethane and acrylic varnishes. They come in matt, semi-matt and gloss finishes — the choice depends on the task. For furniture or interior finishing, matt and semi-matt compounds are preferable to avoid glare and preserve a natural look.
Varnish is applied in 2–3 coats, with intermediate sanding, to achieve a perfectly even and smooth surface. If the product will be in heavy use (for example a workshop worktop or children’s furniture), it is better to apply an additional high-durability protective coat of varnish.
Staining OSB: is it possible?
OSB is not the most convenient material for staining, because it has a non-uniform structure and the compound is absorbed unevenly. In woodworking practice, however, weak water- or spirit-based stains are sometimes used to slightly change the tone of the board before varnishing. The result is an unconventional decorative effect — a semi-transparent background with a pronounced strand texture.
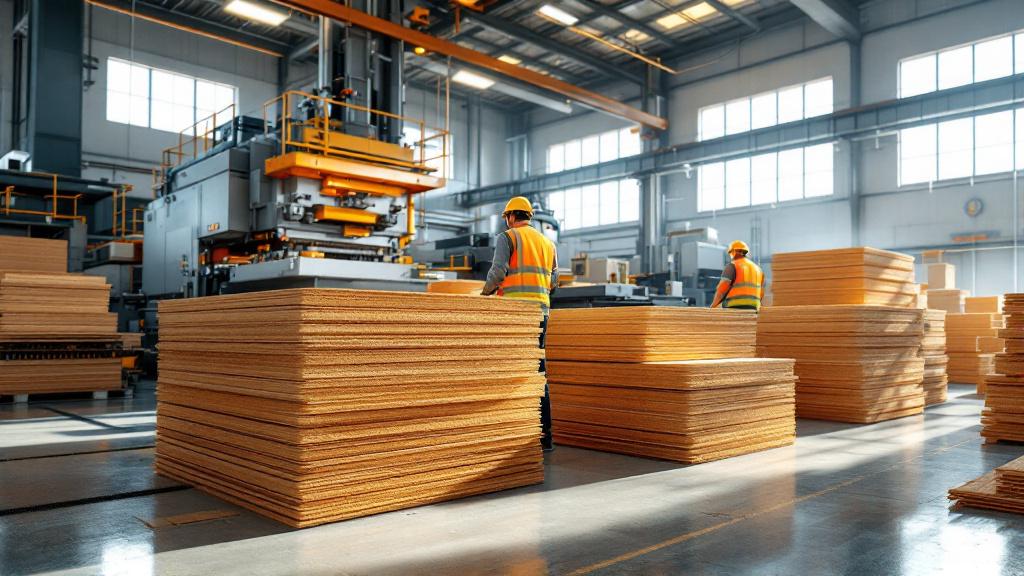
Finishing ends and edges: the vulnerable zone
Any craftsman who has ever worked with OSB knows: the ends are the weakest point. This is where moisture penetrates fastest, and where swelling and structural breakdown begin. That is why, when making OSB products, particular attention must be paid to the edges.
Methods of finishing the ends:
- Impregnation with protective compounds. The ends are treated separately from the main surface — with a thick coat of impregnation, sometimes with the addition of water-repellent resins.
- Sealing. Special acrylic- or polyurethane-based sealants are used. They form a flexible but durable film.
- Applying edge banding. In furniture manufacturing, PVC or melamine edge banding is often used. This is not only attractive but also practical.
- Additional varnishing. The ends are often varnished in two coats to give maximum protection against micro-damage.
Features of working with OSB when making products
OSB is a temperamental material to finish, but a very promising one. With the right finishing it can be used to make high-quality, long-lasting products. Below are the key points a craftsman should keep in mind.
1. OSB furniture
OSB boards are used in furniture manufacturing less often than melamine-faced chipboard (MFC) or plywood, but demand for them has been growing lately — thanks to the fashion for loft, industrial and eco style.
From OSB you can make:
- shelving units, shelves, cabinets;
- worktops and work surfaces;
- seating and furniture elements for workshops;
- bed frames, partitions, drawers.
Important:
- sand all surfaces thoroughly;
- use moisture-resistant OSB-3 or OSB-4 grade boards;
- always finish the ends and corners;
- use quality fasteners (screws, bolts with washers).
2. Partitions and decorative panels
OSB is often used in interiors to create stylish wall solutions — especially in public spaces, coworking areas, showrooms and cafés. The striking look of varnished strands creates a sense of raw texture and naturalness.
In this case it is important to:
- use boards of the same thickness and texture;
- finish the panels in advance on a jig so that ready-made pieces can then simply be mounted;
- use concealed fixing (for example via embedded plates or battens).
3. Products for workshops and production facilities
OSB is widely used in fitting out the woodworking shops and workshops themselves. It is a convenient material for:
- workbenches;
- drawers;
- shelving units;
- screens and panels.
Here it is not decorativeness that comes to the fore but durability and functionality. That is why multi-layer protection is more often used: impregnation, varnish and metal corners to reinforce the edges.

Typical mistakes in finishing OSB
Unfortunately, we often come across the fact that even experienced craftsmen make mistakes when working with OSB. Here are the most common ones:
- Skipping the priming stage. Because of this the paint sits poorly, is absorbed unevenly and flakes off quickly.
- Sanding that is too coarse or, conversely, insufficient. In the first case — damage to the strands and exposure of weak spots; in the second — an inability to apply varnish or paint properly.
- No finishing of the ends. This leads to rapid breakdown even in rooms with normal humidity.
- Choosing unsuitable paints and coatings. OSB requires specific compounds with high adhesion and elasticity.
- Limiting finishing to the visible side only. Even the inner part of a product should be finished — especially if it will be under load or stand close to the floor.
In practice: examples that confirm the importance of finishing
In production we have seen time and again in practice how quality OSB finishing can multiply the service life of a product.
🔹 Example 1: An OSB workbench worktop coated with a triple layer of polyurethane varnish lasted 7 years without a single crack, despite constant loads, dust, moisture and knocks.
🔹 Example 2: A decorative wall panel in a loft interior, having gone through all the stages of sanding, priming, tinting and varnishing in advance, still keeps an even colour, has not faded and has not cracked, despite being on the sunny side of the room.
🔹 Example 3: A bathroom shelf made from OSB and treated with moisture-resistant impregnation and alkyd varnish has been in use for more than 5 years without swelling, fungus or chipping.
Conclusions
Finishing OSB boards is not an “optional extra” but a mandatory part of a professional approach to woodworking. A material that has great potential in itself reveals its best qualities only with proper, step-by-step preparation.
Finishing makes it possible to:
- make OSB durable and resistant to loads;
- improve the appearance, emphasising the strand texture or concealing it;
- ensure safety and environmental soundness in everyday use.
If your production uses OSB — do not cut corners on finishing. It determines how long and how well your product will serve. And that means how satisfied your client, partner or you yourself will remain.